In summary:
- Adding a passenger and luggage dramatically alters your bike’s geometry; the key is to restore it using preload adjustments.
- Your primary goal is to set the correct “rider sag” (usually 30-40mm for touring) to maintain predictable steering and stability.
- Proper setup isn’t a one-time fix; it’s a dynamic process of adjusting for different loads (solo, two-up, full luggage) to ensure comfort and safety.
- Pay attention to how you pack. Balancing weight low and centered is as crucial as the suspension adjustments themselves.
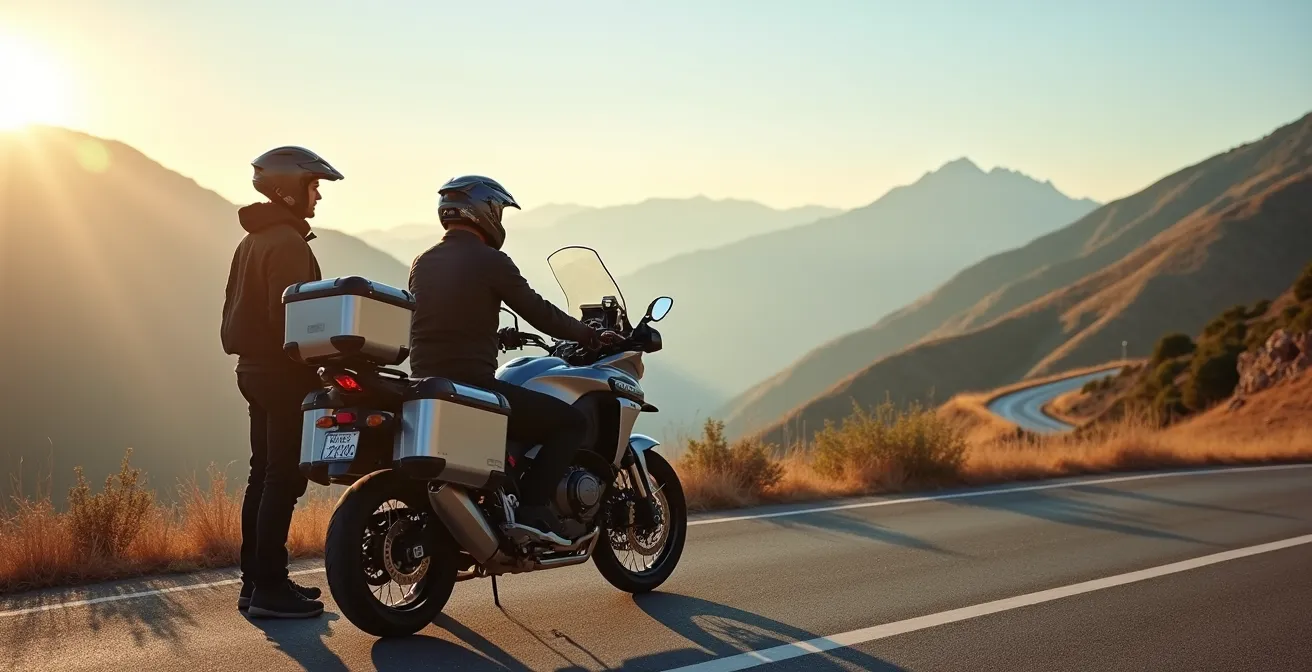
The vision is clear: miles of open road, a trusted partner on the back, and luggage packed for a week of adventure. But for many riders, especially those planning their first big two-up trip, a nagging worry creeps in. How will the bike handle? Will it feel vague and unresponsive in corners? Will it bottom out on every bump? This anxiety is common because adding a passenger and luggage isn’t just about adding weight; it’s about fundamentally changing the motorcycle’s geometry and dynamics.
Most advice you’ll find boils down to “add more preload.” While not wrong, this is a dramatic oversimplification. It ignores the *why* behind the adjustment and fails to teach you how to interpret the bike’s new language. The real secret isn’t found in a magic formula or by simply stiffening everything up. It’s about creating a new, predictable dynamic balance. It’s about learning to listen to the feedback your chassis is giving you and making small, informed adjustments that transform a potentially compromised ride into a confident and comfortable partnership.
This guide is built on that principle. We’re not just going to give you steps to follow. We’re going to demystify the process, explaining the cause and effect of each adjustment. We’ll cover everything from the initial choice of bike and tire considerations to the crucial art of packing and the physical signals your own body gives you. By the end, you won’t just know *how* to set up your suspension; you’ll understand *why* you’re doing it, empowering you to hit the road with the one thing every long-distance rider needs most: confidence.
To guide you through this process, we’ve broken down the key aspects of preparing for two-up touring. This article will cover the fundamental differences between bike types, the impact on your tires, smart packing strategies, ergonomic considerations, and even the mental aspects of long-distance travel. Explore the topics below to build your expertise step by step.
Summary: Sport Touring Suspension: Your Guide to Confident Two-Up Riding
- Sport Tourer or ADV: Which Handles 500-Mile Days Better on Paved Roads?
- Why Your Sport Touring Tires Develop a Flat Spot After 2,000 Highway Miles?
- How to Pack Panniers for Two People Without Exceeding the GVWR?
- The Wrist Pain Signal: When to Install Bar Risers on Your Sport Tourer?
- How to Manage Engine Heat When Stuck in Traffic on a Fully Loaded Bike?
- The 300-Mile Wall: Why Planning More Than 6 Hours a Day Ruins the Fun?
- One-Piece vs Two-Piece Rain Suits: Which is Easier to Put on Roadside?
- Solo vs Group Touring: Which Style Fits Your Personality and Patience?
Sport Tourer or ADV: Which Handles 500-Mile Days Better on Paved Roads?
The debate between a dedicated sport tourer and an adventure (ADV) bike for long-distance pavement duty is endless. Sport tourers offer a lower center of gravity and superior aerodynamics, feeling planted and stable at high speeds. ADVs provide a more upright riding position and longer-travel suspension, promising better comfort over broken pavement. But when it comes to a 500-mile day with a passenger and luggage, the “better” bike is the one with the correctly adjusted suspension platform.
An ADV bike’s long suspension travel can be a liability if not properly managed. The added weight will cause it to squat significantly, slackening the steering angle and leading to a vague, “wallowy” feeling in turns. A sport tourer, with its shorter travel, has less room for error. Overloading it without adjustment can make it feel harsh and cause it to bottom out, upsetting the chassis. Both bikes, when loaded, suffer from the same fundamental problem: altered geometry. The solution for both is the same: using preload to set the correct sag.
Sag is the amount your suspension compresses under weight. For loaded touring, the goal is to restore the bike’s intended “ride height” so the steering geometry works as designed. While a solo rider might aim for 25-30mm of sag, a fully loaded touring bike often needs to be in the 30-40mm range. For ADV bikes, this is often expressed as a percentage of total travel. According to analysis on two-up riding, for dual-sport/adventure bikes, the recommended sag is typically 30% of total suspension travel when measured with the actual payload.
Ultimately, either a sport tourer or an ADV can be a phenomenal long-haul machine. Don’t get lost in the spec-sheet battle. Instead, focus on learning how to manage the load dynamics of your chosen platform. A well-set-up sport tourer will be more comfortable and confidence-inspiring than a poorly set-up ADV, and vice-versa.
Why Your Sport Touring Tires Develop a Flat Spot After 2,000 Highway Miles?
Every long-distance rider has seen it: that squared-off rear tire profile that appears after a long tour dominated by highway miles. This “flat spot” occurs because you spend the vast majority of your time riding upright, wearing down the center of the tire’s tread far more quickly than the sides. While this is a natural consequence of slab-riding, an improperly set up suspension can dramatically accelerate this process and compromise handling.
When you add a passenger and luggage without increasing rear preload, the back of the bike squats. This shifts the weight balance rearward and flattens the angle of the tire’s contact patch on the road. Instead of riding on a balanced, slightly curved section of the tire, you are concentrating the entire load onto a smaller, flatter area right in the center. This concentrated pressure increases friction and heat, literally grinding away the center tread at an alarming rate. It also creates a more pronounced “ridge” between the worn center and the fresh sides.
This ridge is what you feel when you initiate a turn. The bike feels like it “falls” off the flat center onto the side, creating a moment of instability that can be unnerving, especially with a passenger. A proper suspension setup helps mitigate this. By restoring the correct ride height, you maintain the tire’s designed profile against the pavement, distributing the load more evenly and ensuring a smoother transition from upright to lean angle.
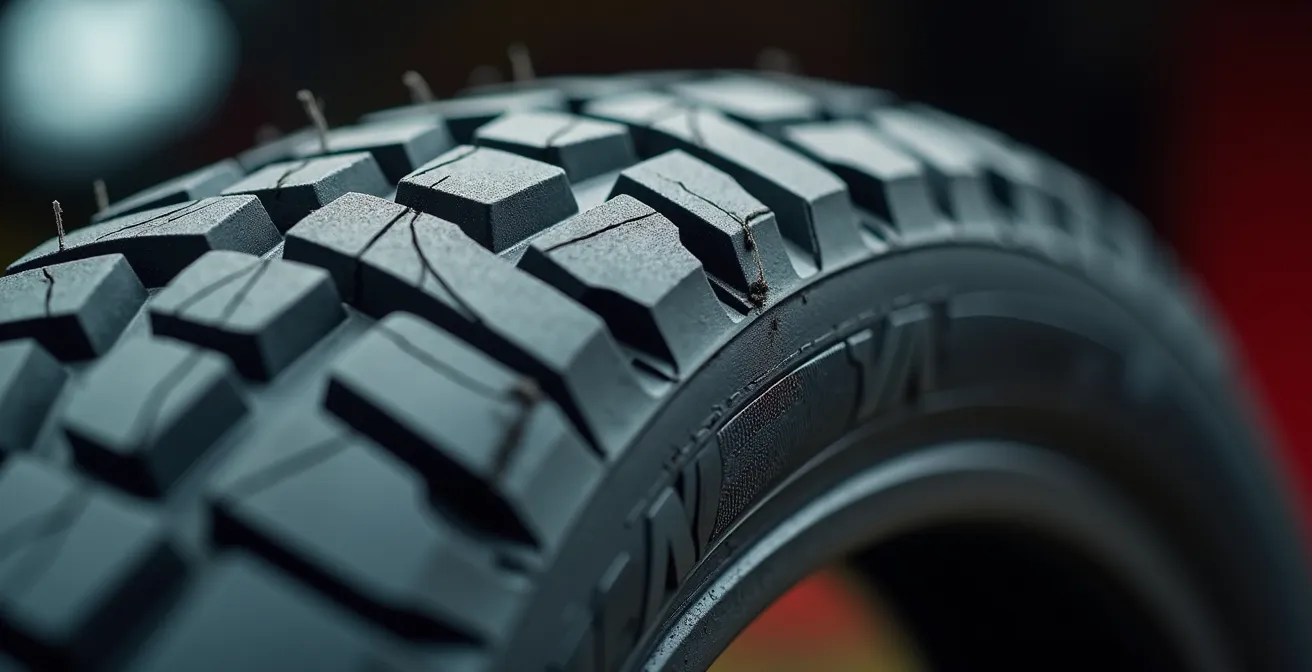
As you can see, the textural difference between the worn center and the unused side tread is stark. A correct setup won’t eliminate flat spots entirely if your tour is mostly straight lines, but it will ensure the wear is more gradual and the handling remains more predictable throughout the tire’s life. Think of your suspension as a critical partner in preserving tire performance and, by extension, your safety and confidence.
So, before your next trip, don’t just check your tire pressures; check your sag. It’s one of the most effective things you can do to protect your investment in those expensive sport-touring tires and keep your bike feeling agile from the first mile to the last.
How to Pack Panniers for Two People Without Exceeding the GVWR?
Before you even touch a single suspension clicker, the most critical step is managing weight. Every motorcycle has a Gross Vehicle Weight Rating (GVWR), which is the maximum allowable weight of the bike, fuel, riders, and luggage. Exceeding it is not only illegal but also dangerously compromises your bike’s braking, handling, and structural integrity. For two-up touring, it’s surprisingly easy to approach this limit, so a strategic packing audit is non-negotiable.
The golden rule is to place the heaviest items as low and as close to the bike’s centerline as possible. This minimizes the impact on the center of gravity. Think tools, spare fluids, and camping cookware. Lighter, bulkier items like sleeping bags or rain gear can go higher up or in a top case. It’s also vital to balance the weight side-to-side. A weight difference of more than a couple of pounds between your left and right panniers can induce a constant, subtle pull that becomes fatiguing over a long day.
Once you’ve packed, setting the suspension is the next step. The additional load requires significantly more rear preload to achieve the target sag. An analysis of different loading scenarios provides a clear picture of how adjustments must change.
| Configuration | Recommended Sag | Weight Consideration | Adjustment Priority |
|---|---|---|---|
| Solo Rider | 25-30mm rear | 170lbs average + 15lbs luggage | Baseline setting |
| Two-Up Touring | 30-40mm rear | Add passenger weight + gear | Increase preload significantly |
| Fully Loaded | Stay 15-20% below GVWR | Monitor front/rear balance | Check both axles equally |
This table illustrates that moving from a solo setup to a loaded two-up configuration isn’t a minor tweak; it’s a fundamental shift in the chassis’s needs. To ensure you’re starting with a well-managed load, a pre-trip weight audit is essential.
Your Pannier Weight Audit Checklist
- Weigh each pannier and the top case individually using a bathroom scale.
- Ensure the weight difference between the left and right panniers is less than 2 lbs (1 kg).
- Place the heaviest items (e.g., tools, locks, camp stoves) low and forward in the panniers.
- Confirm that the total weight of all luggage, riders, and gear is safely below your bike’s GVWR (check your owner’s manual).
- Document the final weights of each bag for consistent and quick reloading during your trip.
Remember, a well-packed bike feels lighter and more agile than a poorly packed one, even if the total weight is the same. Taking the time to do this audit provides a massive return in confidence and safety on the road.
The Wrist Pain Signal: When to Install Bar Risers on Your Sport Tourer?
After a few hundred miles, your body starts talking. Aching shoulders, a sore lower back, and—most commonly on sport-touring bikes—sore wrists. Many riders immediately assume the solution is ergonomic, looking to install bar risers to create a more upright posture. While this can be a valid solution, it often masks the real culprit: improper rear suspension setup. Before you modify your handlebars, check your sag.
When you load a bike with a passenger and luggage, the rear suspension compresses significantly. If you don’t add enough preload to compensate, the rear of the bike sits too low. This changes the entire chassis geometry, increasing the fork angle (rake) and transferring more of the total weight onto the front wheel. Consequently, you are physically supporting more of your and your passenger’s weight through your arms and wrists. That nagging pain isn’t necessarily from an aggressive riding position; it’s from a rear-end sag issue.
The fix is to add rear preload until you achieve the correct rider sag. As a target, most experts agree that for loaded touring, you should aim for 30-35mm of rider sag at the rear axle. Achieving this number lifts the rear of the bike, restoring the original steering geometry and re-balancing the weight distribution between the front and rear wheels. You’ll find that less weight is being forced onto your wrists, and the pain may vanish entirely.
Furthermore, this geometry change has a profound effect on handling. As tuning experts at Penske Shocks explain, an imbalance can be detrimental, as a bike that is too high in the front causes understeer, making it want to run wide in corners. Conversely, a bike that’s too high in the rear can cause twitchy handling. Finding that 30-35mm sweet spot creates the predictable handling that is the cornerstone of two-up confidence.
So, before you order those bar risers, grab your tape measure and a friend. Spending thirty minutes dialing in your sag is free, and it will likely solve your comfort issues while simultaneously making your bike handle better. If the pain persists after the suspension is correctly set, then it’s time to explore ergonomic changes.
How to Manage Engine Heat When Stuck in Traffic on a Fully Loaded Bike?
There’s no feeling quite like it: you’re two hours into a beautiful ride, fully loaded with your partner and gear, and you hit a complete standstill in the midday sun. The engine temperature gauge starts to climb, and you can feel waves of heat radiating onto your legs. On a fully loaded bike, this situation is more than just uncomfortable; it can be a major source of stress and fatigue.
While modern liquid-cooled engines are designed to handle this, the sheer thermal energy produced by a large-displacement motor working to stay cool at a standstill can be immense. The added weight of a passenger and luggage means the bike’s chassis is already under strain, and a rider stressed by heat is less able to manage the bike smoothly. While you can’t control the traffic, you can adopt several strategies to mitigate the heat and maintain control.
The first is strategic positioning. Instead of sitting in the center of the lane, position your bike in the wheel track that allows you to catch any crosswind from passing cars in the adjacent lane. Even a slight breeze can make a significant difference. Periodically standing on the pegs for a few seconds allows air to flow between you and the hot seat and engine. When stopped, use your lane position to take advantage of any available shade, even if it’s just the shadow of a large truck.
A properly set-up suspension plays a subtle but important role here. A bike that is balanced and predictable at crawling speeds is far less mentally taxing to manage. If your suspension is wallowy and vague from improper sag, your brain has to work overtime just to keep the bike stable, leaving less capacity to focus on heat management and situational awareness. A firm, supportive chassis platform allows you to relax and focus on your positioning strategy.
Finally, if traffic is stopped for an extended period, don’t be afraid to switch the engine off. It gives both you and the machine a much-needed break from the heat, ensuring you’re both fresh and ready to go when things start moving again.
The 300-Mile Wall: Why Planning More Than 6 Hours a Day Ruins the Fun?
For new tourers, there’s a temptation to plan epic, cross-country mileage days. But seasoned veterans know about “the wall.” It typically hits around the 300-mile or 6-hour mark. It’s the point where focus starts to wane, muscles begin to ache, and the joy of riding is replaced by the grim determination to simply “get there.” Pushing past this wall, especially with a passenger, is often where mistakes happen and enjoyment plummets.
The single biggest contributor to hitting this wall prematurely is a poorly set-up suspension. Every bump and imperfection in the road that isn’t properly absorbed by your suspension is transmitted directly into your body. Your muscles are forced to act as a secondary suspension system, constantly tensing and relaxing to maintain stability. This is physically and mentally exhausting. A bike that feels harsh or chatters over bumps is literally beating you up, mile after mile.
Conversely, a suspension that’s too soft and wallowy is just as fatiguing. The constant, uncontrolled motion of the chassis forces you to make continuous micro-corrections with your body and steering inputs just to keep the bike on line. This drains your mental energy reserves. The goal of a great touring setup is to create a chassis that is both compliant and controlled. It should absorb bumps without upsetting the bike’s trajectory, allowing the rider to relax.
As suspension guru Dave Moss notes, a correctly set-up system does most of the work for you. When dialed in, he explains that 90% of the suspension travel will be used over the course of a ride, with the internal damping circuits absorbing the vast majority of impacts. When this happens, the rider feels connected to the road, but insulated from its harshness. This is the key to extending your comfortable range and pushing that 300-mile wall further down the road.
So, when planning your itinerary, be realistic. Six hours of “saddle time” is a full day of riding. This leaves ample time for fuel stops, meals, and enjoying the scenery with your partner. A well-set-up bike and a reasonable daily schedule are the twin pillars of a successful and memorable tour.
One-Piece vs Two-Piece Rain Suits: Which is Easier to Put on Roadside?
Nothing tests a relationship like trying to wrestle into a one-piece rain suit on the side of a busy highway as storm clouds gather. When touring two-up on a fully loaded bike, the ease of deploying your rain gear is a critical, and often overlooked, aspect of your setup. The choice between a one-piece and a two-piece suit often comes down to a trade-off between ultimate protection and practical usability.
A one-piece suit offers the best possible protection. With a single main zipper and no gap at the waist, it’s virtually impenetrable to wind and water. However, they are notoriously difficult to put on. You have to take your boots off, balance on one foot, and perform a roadside contortionist act—all made harder by the panniers getting in your way. A two-piece suit, consisting of separate pants and a jacket, is slightly less protective (the waist is a potential entry point for water in a deluge) but infinitely more practical.
With a two-piece, you can often pull the pants on over your boots. You can also choose to wear only the jacket for a light, passing shower, or just the pants if the roads are wet but the rain has stopped. This versatility is a huge advantage. For the rider, the jacket can be kept in an easily accessible tank bag, while for the passenger, it can live in the top of a pannier. This “split storage” strategy makes deployment much faster.
The time and difficulty of putting on each type of suit when dealing with a fully loaded bike is a major consideration. Here is a quick comparison:
| Suit Type | Donning Time | Storage Space | With Panniers |
|---|---|---|---|
| One-Piece | 2-3 minutes | More bulk | Difficult balance |
| Two-Piece | 3-4 minutes | Easy to split | Can don separately |
| Over-Jacket Style | 1-2 minutes | Most bulk | Easiest with bags |
For most two-up tourers, the sheer convenience and flexibility of a two-piece suit outweigh the marginal increase in protection from a one-piece. The ability to put it on quickly and separately, without having to fully disrobe or struggle for balance next to your loaded machine, makes it the clear winner for real-world touring practicality.
Key takeaways
- Your motorcycle’s suspension is not static; it requires adjustment for any significant change in load, especially a passenger and luggage.
- Setting the correct rear “rider sag” (30-40mm for touring) is the single most important adjustment to restore proper handling and steering geometry.
- Physical discomfort like wrist pain is often a symptom of incorrect suspension setup (too much rear sag) before it is an ergonomic problem.
Solo vs Group Touring: Which Style Fits Your Personality and Patience?
Just as you must choose between different types of rain gear or daily mileage goals, the style of your tour—solo, with just your partner, or in a large group—has a massive impact on the experience. Each style has its merits, but they also place different demands on your bike’s setup and your own patience. The key is understanding that your suspension settings must adapt to these changing scenarios.
Riding solo offers ultimate freedom. You go where you want, when you want. Your bike is set up for one person, and the handling is consistent. Adding a passenger creates a new dynamic; you are now a team, and communication and shared decision-making are paramount. Your suspension now needs to be set for this “two-up” baseline. But what about a group ride, where one day you might be carrying a full load of camping gear, and the next, you might leave the luggage at a base camp and go for a spirited day ride with just your passenger?
This is where the idea of a “set and forget” suspension setup completely falls apart. Your motorcycle’s needs are not static. The optimal settings for a solo ride are wrong for a two-up ride, and the settings for a fully loaded two-up camping trip are wrong for a light-and-fast day trip with a partner. A seasoned tourer must learn to see their suspension as an adaptable tool.
As motorcycle journalist Jan Marc Staelens emphasizes, this adaptability is crucial, especially for bikes that see a wide range of uses:
It’s not a case of ‘set it and forget it,’ as a particular suspension setting is only applicable for a certain weight. Touring/adventure motorcycles especially require readjustments for frequently changing payloads, such as riding solo versus with a passenger and/or luggage.
– Jan Marc Staelens, GearJunkie Motorcycle Suspension Guide
Before your next major trip, take the time to find and document your baseline settings for each scenario: solo, two-up, and fully loaded. This thirty-minute investment in your garage will pay massive dividends in comfort, confidence, and enjoyment, allowing you to adapt your bike perfectly to whatever the road, and your touring style, throws at you.