The intense heat blasting your leg isn’t a flaw; it’s the most obvious symptom of your superbike’s racing DNA and the first “performance tax” you’ll pay for owning a thoroughbred.
- Managing a superbike on the street is less about eliminating heat and more about mastering the hidden costs and ownership rituals tied to its extreme performance.
- From shockingly high insurance premiums to frequent, expensive maintenance like valve checks, every aspect of ownership is a direct consequence of its track-focused engineering.
Recommendation: Shift your mindset from fighting the bike’s nature to understanding and respecting it. This means choosing the right gear (like tires) for the street, not the track, and embracing the specific skills required to tame a race machine for daily life.
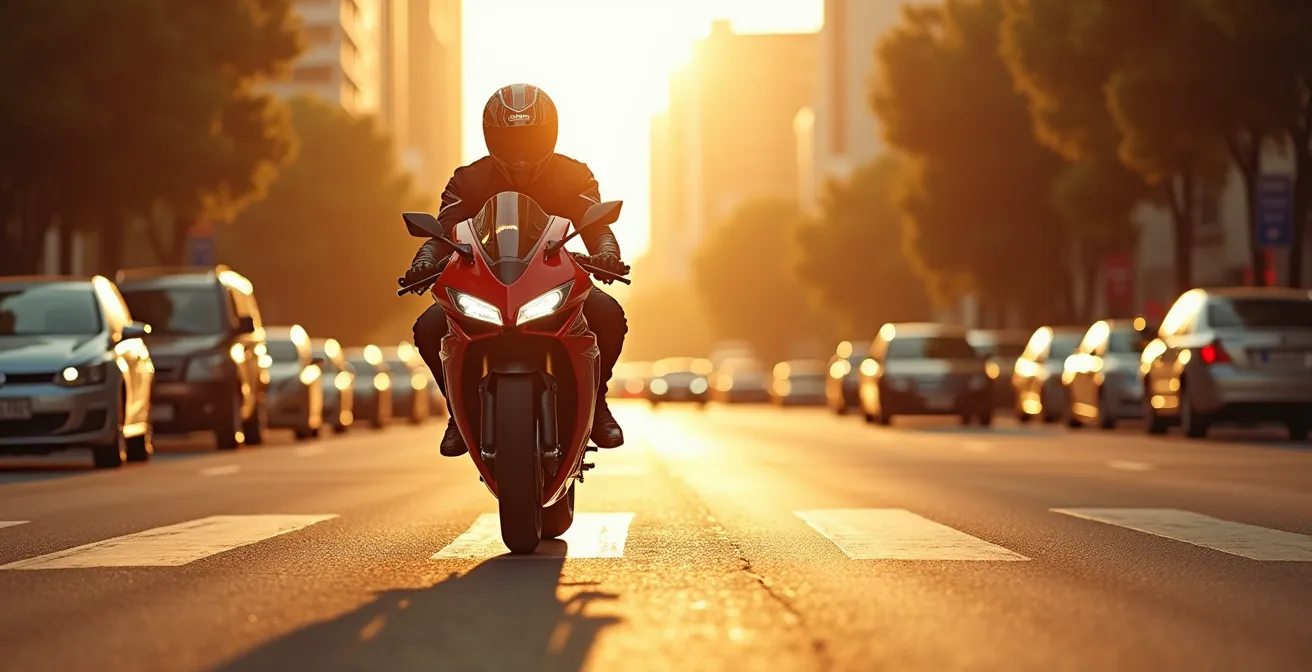
The first time you get stuck in summer city traffic on your new superbike is a moment of reckoning. The digital temperature gauge climbs with alarming speed, the cooling fan roars like a jet engine, and an inescapable wave of heat starts cooking your inner thigh. You bought a dream machine, a pinnacle of engineering, yet right now it feels like you’re straddling a blast furnace. You followed the common advice—you bought the expensive vented gear, you’re staying hydrated—but the brutal reality remains. You’re left wondering, “Is it supposed to be this hot?”
The short answer is yes. The longer, more important answer is that this heat is not the core problem; it’s the most obvious symptom of a much larger truth about supersport ownership. You didn’t just buy a motorcycle; you bought a detuned, street-legal race bike. Its entire being is optimized for one thing: going incredibly fast on a smooth, open track with maximum airflow. Stop-and-go traffic is its personal hell, and by extension, yours too. The heat is just the first installment of what can be called the “performance tax”—a series of hidden costs, compromises, and rituals that come with the territory.
But here’s the secret veteran owners know: learning to manage this “tax” is the key to true enjoyment. It’s about shifting your perspective. Instead of fighting the bike’s inherent nature, you learn to understand and work with it. This guide isn’t about generic hot-weather tips. It’s a frank discussion about the real, often surprising, costs and commitments of taming a thoroughbred for the street, starting with the mechanical demands and moving through the financial and practical realities of daily use.
This article explores the specific challenges and hidden costs that define the supersport ownership experience. By understanding these aspects, from maintenance demands to insurance realities and security needs, you can transform frustration into mastery.
Summary: Supersport Ownership: The Brutal Truth About Engine Heat and Other Hidden Costs
- Why Does a Superbike Require Valve Checks Twice as Often as a Cruiser?
- How to Relieve Wrist Pressure on Clip-On Handlebars During Commutes?
- Why Insuring a 1000cc Superbike Costs More Than Your Car?
- The 3 Security Layers Needed to Protect a Superbike Parked Outside
- Hypersport vs Sport-Touring Tires: Which Suits a Superbike Ridden Daily?
- Roadster vs Supersport: Which Costs Less to Insure for a 25-Year-Old Rider?
- The Cost of Grip: How to Budget for 3 Tire Changes a Season?
- Track Day Prep: How to Safety Wire Your Oil Drain Bolt Correctly?
*
Why Does a Superbike Require Valve Checks Twice as Often as a Cruiser?
That incredible, high-revving scream your bike makes is the sound of a highly stressed, precision-engineered engine. Unlike a lazy, low-revving cruiser V-twin, a supersport engine is built with aggressive camshaft profiles, lightweight valvetrain components, and extremely tight tolerances to produce maximum power at high RPMs. This is its racing DNA. The trade-off for this performance is accelerated wear and the need for more frequent and invasive maintenance. The valve check, or “desmo service” in Ducati’s case, is the perfect example of this performance tax.
While a cruiser might go 30,000 miles or more before needing a valve clearance inspection, a supersport demands it far more often. The constant high-speed operation causes the valve seats to wear and the clearances to tighten, which, if left unchecked, can lead to poor performance, difficult starting, and eventually catastrophic engine damage. For example, even on a more street-oriented model, the major valve service on the Supersport 950 occurs every 18,000 miles or 30,000 km, an interval many full-on superbikes require even sooner. This isn’t a sign of poor quality; it’s a direct, predictable consequence of its high-performance design.
Think of it as feeding a top-tier athlete a specialized diet. You can’t expect world-class performance on a fast-food budget, and you can’t expect a race-bred engine to thrive on a cruiser’s maintenance schedule.
How to Relieve Wrist Pressure on Clip-On Handlebars During Commutes?
The aggressive, forward-leaning riding position that feels so right on a racetrack becomes a source of agony in city traffic. Those low-slung clip-on handlebars are designed to get your body out of the wind at 150 mph, not to let you comfortably scan for potholes at 15 mph. The result is an immense amount of pressure on your wrists, hands, and forearms. This ergonomic compromise is another part of the performance tax you pay. Fighting it is futile; mastering it is a skill.
The common mistake is trying to support your upper body weight with your arms. This leads to numb hands, a death grip on the bars, and sore wrists. The solution is to learn one of the most crucial “ownership rituals”: riding with your core. A strong, engaged core—your abdominal and lower back muscles—should support your torso, allowing your arms to remain loose and relaxed, guiding the bike with light inputs rather than holding you up.
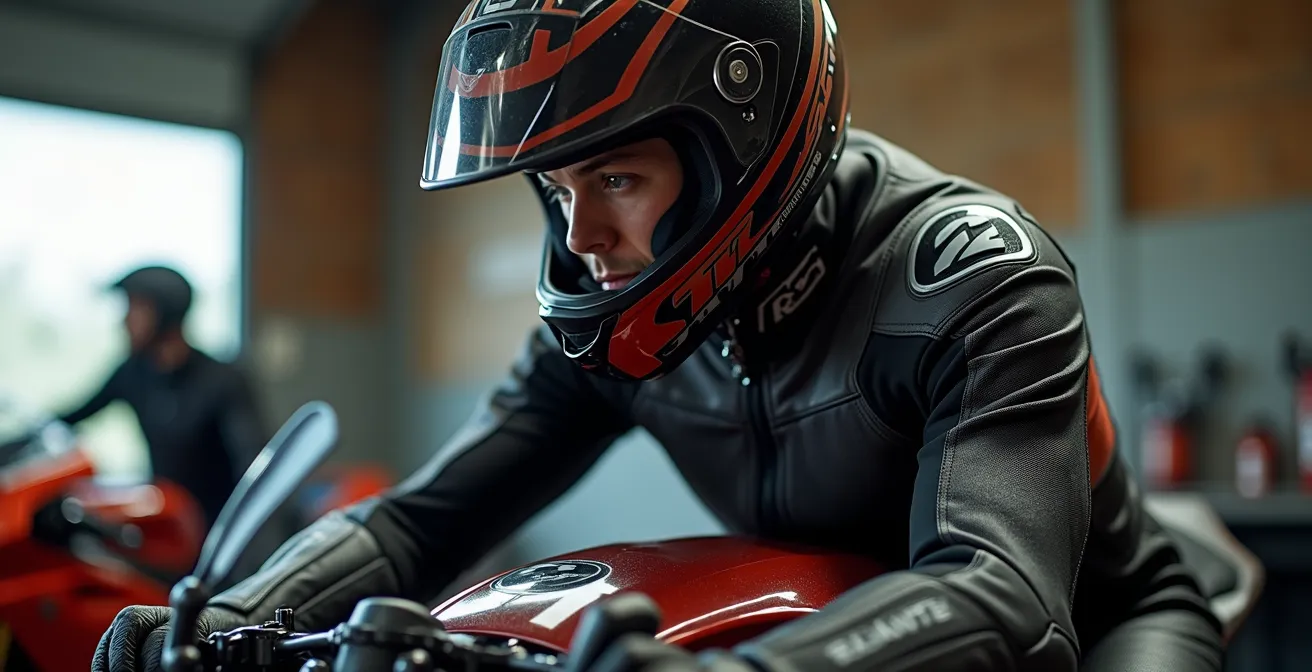
As you can see in the proper ergonomic posture, the rider’s back is straight and their core is engaged, taking the weight off the hands. To build this habit, practice these techniques during your commute:
- Grip the Tank: Actively squeeze the gas tank with your knees. This stabilizes your lower body and helps you engage your core.
- Hover Your Hands: On a straight, clear road, briefly lift your hands an inch off the grips. If you immediately fall forward, you’re relying too much on your arms.
- Stay on the Balls of Your Feet: This encourages better leg engagement and makes it easier to shift your weight and absorb bumps.
- Consider Bar Risers: If daily comfort is a top priority, installing handlebar risers can provide a more upright position, though it will slightly alter the bike’s sharp handling characteristics.
It’s a physically demanding technique at first, but building this strength and muscle memory will transform your commuting experience from a painful chore into a display of skillful riding.
Why Insuring a 1000cc Superbike Costs More Than Your Car?
After you’ve recovered from the heat and the wrist pain, the next shock arrives: the insurance quote. For many new owners, especially younger ones, the annual premium for a 1000cc superbike can easily exceed that of a new car. This isn’t an arbitrary decision by insurance companies; it’s a cold, hard calculation of risk. That racing DNA we keep talking about translates directly into statistical risk factors that drive premiums through the roof.
Insurance companies see a 200-horsepower machine with a top speed over 180 mph and associate it with two things: high crash rates and extreme repair costs. Research shows that sport bikes typically cost 3.5 times more expensive to insure than their cruiser counterparts. The demographic that typically buys these bikes (younger males) also falls into a higher-risk category. Furthermore, a minor low-side crash that would barely scratch a car’s bumper can result in thousands of dollars of damage to expensive, lightweight fairings, clip-ons, and rearsets, often leading to a total loss declaration from the insurer.
This table illustrates how stark the difference in perceived risk and cost is, based on an analysis of typical premiums.
| Bike Type | Annual Premium Range | Risk Factor |
|---|---|---|
| Sport bikes | $2,000-$3,500 | Highest |
| Standard cruisers | $500-$1,200 | Low |
| Touring bikes | $800-$1,800 | Medium |
| Hypernaked | $1,500-$2,500 | High |
There’s no magic trick to lower these costs significantly, but taking advanced rider courses, maintaining a clean driving record, and bundling with other policies can help shave off a small percentage. Ultimately, high insurance is the most direct and unavoidable performance tax you will pay.
The 3 Security Layers Needed to Protect a Superbike Parked Outside
A high-end superbike parked on the street is more than just a vehicle; it’s a high-value, easily transportable target for thieves. Its desirability, combined with the fact that two or three strong individuals can lift it into a van in under a minute, makes it exceptionally vulnerable. Relying on the steering lock alone is not an option; it’s an invitation to disaster. Protecting your investment requires adopting a multi-layered security strategy, another of the essential ownership rituals.
The goal is not to make your bike impossible to steal—given enough time and tools, any security can be defeated. The goal is to make it so difficult, time-consuming, and conspicuous to steal that thieves will move on to an easier target. This means creating layers of defense: a visual deterrent, a physical barrier, and a technological recovery system.
A comprehensive security setup should be a fortress of deterrence and immobilization. The following three layers form the foundation of effective motorcycle security when parking outside:
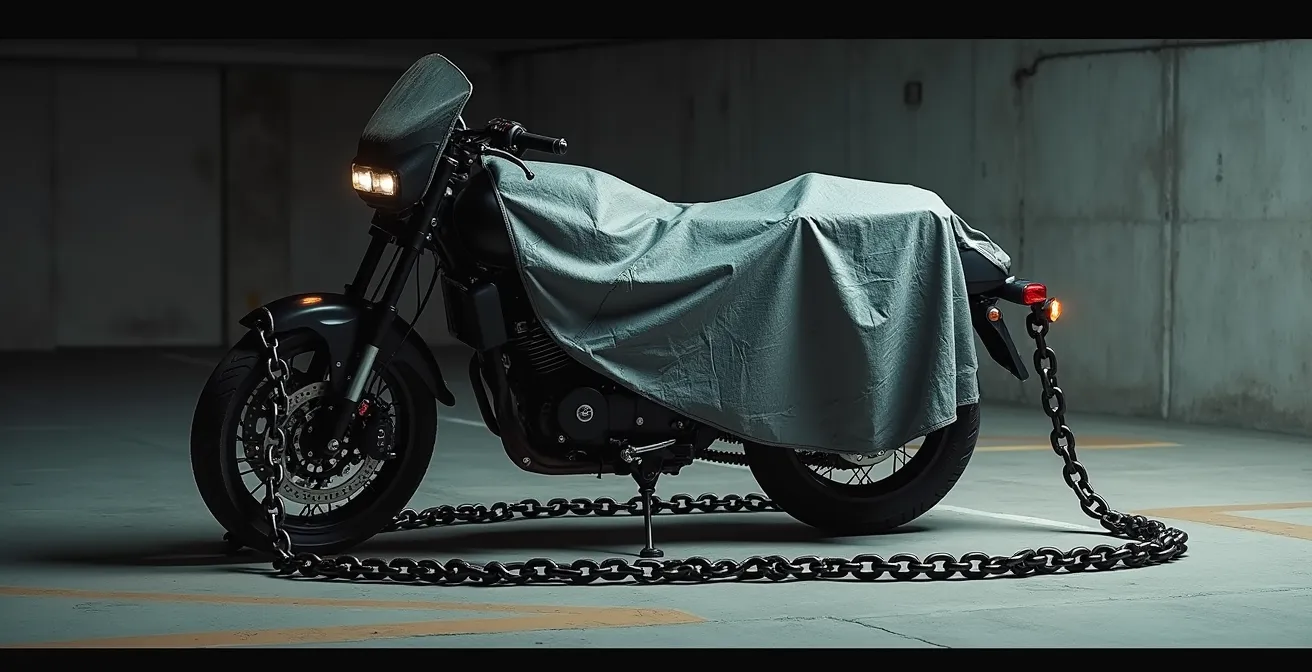
- Layer 1 – Deterrence (Visual): Make the bike look unappealing and risky. Use a generic, slightly worn cover to hide what’s underneath. A cover that screams “Ducati Panigale” is counterproductive. Add a disc lock with a bright reminder cable and a visible blinking LED (even a dummy one) to suggest an active alarm system.
- Layer 2 – Immobilization (Physical): This is the most crucial layer. Use a high-quality, heavy-duty chain (16mm or thicker) and a robust lock. The key is to chain the bike’s frame, not just a wheel, to an immovable object like a ground anchor or a sturdy lamppost. Always keep the lock off the ground to prevent thieves from using the pavement as leverage for bolt cutters or a sledgehammer.
- Layer 3 – Recovery (Technological): Assume the worst. If a determined thief defeats the first two layers, a hidden GPS tracker is your only hope of recovery. Choose a professionally monitored service that can coordinate with law enforcement. For added peace of mind, consider hiding a second, cheaper tracker as a backup in case the primary one is found and disabled.
This three-part ritual takes a few extra minutes every time you park, but it’s a small price to pay for the peace of mind that your prized possession will still be there when you return.
Hypersport vs Sport-Touring Tires: Which Suits a Superbike Ridden Daily?
The tires your superbike came with are probably incredible—on a racetrack. On the street, they represent one of the most common and costly mistakes new owners make. Hypersport tires are designed for maximum grip at high temperatures on clean, smooth asphalt. They are a classic example of paying a steep performance tax for a capability you will rarely, if ever, use during your daily commute. As one industry analysis bluntly puts it, “Most riders use only 10% of their hypersport tire’s capability 90% of the time on the street.”
Most riders use only 10% of their hypersport tire’s capability 90% of the time on the street
– Industry Analysis, Motorcycle Tire Performance Study
These tires have significant downsides for street use: they take a long time to warm up to optimal temperature, have mediocre performance in the wet, and have a very short lifespan, often lasting only 2,000-3,000 miles. For a daily rider, this is not just inconvenient; it’s expensive and potentially unsafe. A modern sport-touring tire, by contrast, is a far more intelligent choice for the street. It offers excellent wet and dry grip, warms up almost instantly, and lasts two to three times longer, dramatically lowering your cost per mile. While you might sacrifice the last 5% of ultimate, on-the-edge track performance, you gain a massive increase in real-world safety, usability, and financial sanity.
This comparison highlights the clear trade-offs between different tire categories for daily street riding, using popular models as examples.
| Tire Type | Warm-up Time | Wet Grip | Lifespan (miles) | Cost per Mile |
|---|---|---|---|---|
| Hypersport (Pirelli Diablo Rosso IV Corsa) | 5-10 minutes | Moderate | 2,000-3,000 | $0.15-0.20 |
| Sport-Touring (Michelin Power 5) | 2-3 minutes | Excellent | 5,000-7,000 | $0.06-0.08 |
| All-Weather (Metzeler Roadtec 01 SE) | Immediate | Outstanding | 8,000-10,000 | $0.04-0.05 |
Unless you’re spending significant time on the track, switching to a quality sport-touring tire when your original set wears out is one of the smartest “street-taming” decisions you can make.
Roadster vs Supersport: Which Costs Less to Insure for a 25-Year-Old Rider?
The answer is unequivocally the roadster, and the reason reveals another layer of the insurance “performance tax”: the cost of plastic. Consider two motorcycles from the same manufacturer, sharing the exact same engine, frame, and suspension. One is a “naked” roadster, and the other is a faired supersport. The supersport will always be significantly more expensive to insure, simply because of its bodywork.
Insurance companies’ risk models are heavily influenced by the cost of repairs. A naked bike can often be dropped at low speed with minimal damage—perhaps a bent lever or a scuffed bar-end. The same incident on a faired supersport can easily crack or shatter a $1,500 side fairing, leading to a much larger claim. This is why, even with identical performance, the presence of expensive fairings classifies the bike in a higher risk category. A case study showed that for a 25-year-old rider, switching from a faired sportbike to a comparable naked roadster resulted in an $820 annual difference in premiums. The performance was nearly identical, but the perceived risk of repair was not.
Real-World Case: Kawasaki Ninja 650 vs. Z650
The Kawasaki Ninja 650 (a faired sportbike) and the Z650 (its naked roadster sibling) are perfect examples. They share the same 649cc parallel-twin engine and trellis frame. Yet, insurance quotes for the Ninja 650 are consistently higher than for the Z650 for the same rider profile. The sole reason is the added cost to replace the Ninja’s full fairings in the event of a claim, branding it as a higher financial risk despite having the same mechanical foundation.
For a daily rider or a new owner, this is a powerful argument for considering a “hypernaked” bike. You get nearly all the performance of a superbike without the extreme ergonomic compromise and with a significant saving on insurance.
The Cost of Grip: How to Budget for 3 Tire Changes a Season?
If you choose to stick with aggressive hypersport tires and ride frequently, you must confront the stark financial reality: you will be buying a lot of tires. The “Cost of Grip” is a very real line item in your annual budget, one that often surprises new owners. For an enthusiastic rider covering 6,000-9,000 miles in a season, going through three rear tires (and at least one front) is not an extreme scenario; it’s a predictable expense.
Let’s do the math based on the data from our tire comparison. A set of high-end hypersport tires can cost around $400-$500. If a rear tire lasts you 2,500 miles, you’ll need three of them to cover 7,500 miles. That’s roughly $750 in rear tires alone. Add in a new front tire (which typically lasts twice as long as a rear) for another $180, and you’re looking at nearly $1,000 per season, just in rubber. This doesn’t even include mounting and balancing fees, which can add another $50-$100 per change.
Here’s a sample annual tire budget for an aggressive street rider covering 7,500 miles:
- Option A (Hypersport Tires):
- 3 Rear Tires @ $250 each = $750
- 1.5 Front Tires @ $180 each = $270
- Mounting Fees (4 changes) @ $50 each = $200
- Total Annual Cost: $1,220
- Option B (Sport-Touring Tires):
- 1 Rear Tire @ $220 each = $220
- 0.5 Front Tires @ $160 each = $80
- Mounting Fees (1.5 changes) @ $50 each = $75
- Total Annual Cost: $375
This is a critical part of the street-taming process. Choosing the right tire for your actual use case isn’t just safer and more practical; it can save you nearly a thousand dollars a year—money that could be spent on fuel, maintenance, or a well-deserved track day.
Key takeaways
- The intense heat, high maintenance costs, and expensive insurance of a superbike are not flaws, but direct results of its “racing DNA.” This is the “performance tax.”
- Mastering daily comfort involves learning specific skills like using your core to relieve wrist pressure, a key “ownership ritual.”
- For street use, choosing a high-quality sport-touring tire over a hypersport tire is a smarter, safer, and vastly more economical decision.
Track Day Prep: How to Safety Wire Your Oil Drain Bolt Correctly?
After all the compromises and costs, there comes a time when you want to let the beast run free. A track day is the ultimate expression of supersport ownership, the place where the bike’s racing DNA can finally be fully appreciated. But entering this world requires a new level of mechanical responsibility, and the most fundamental of these is safety wiring. Most track day organizations mandate that key bolts—especially the oil drain bolt and filler cap—are secured with safety wire. This isn’t just a suggestion; it’s a critical safety measure.
An oil drain bolt that vibrates loose on the track can dump the entire contents of your engine’s oil sump directly onto the rear tire and the track surface. This is a recipe for a catastrophic crash, not just for you, but for any rider behind you. Safety wiring is a simple, mechanical method to ensure this can never happen. The wire is twisted in a way that it creates positive tension, actively pulling the bolt in the tightening direction, making it physically impossible for it to loosen on its own. Learning to do this correctly is a foundational “ownership ritual” for any aspiring track rider.
It’s a skill that requires a few specific tools (safety wire pliers, pre-drilled bolts) and some practice, but the principle is straightforward. The satisfaction of looking at a perfectly executed set of twists is part of the deep, mechanical connection to your machine.
Action plan: First track day safety wire prep
- Acquire Gear: Purchase safety wire pliers (the kind that twist and cut), a roll of 0.032-inch stainless steel safety wire, and pre-drilled oil drain and filler bolts for your specific model. Do not attempt to drill bolts yourself without a drill press and jig.
- Drain Bolt First: Install the new, drilled drain bolt and torque it to the manufacturer’s specification. This is a critical step; the wire is insurance, not a substitute for proper torque.
- Anchor and Thread: Find a secure anchor point on the engine case or frame near the bolt. Thread a 6-8 inch piece of wire through the hole in the bolt head.
- The Positive Pull: Route the wire to the anchor point. The wire’s path MUST be configured so that it is constantly pulling the bolt in the tightening (clockwise) direction. If it pulls the bolt in a loosening direction, it is incorrect and dangerous.
- Twist and Secure: Clamp both ends of the wire with the pliers, lock them, and pull the handle to create a tight, even twist (about 6-8 twists per inch). Wrap the twisted end around the anchor point, then use the pliers’ cutters to snip the excess, leaving a small “pigtail” that you can tuck away from harm.
Embracing these rituals, from managing heat in traffic to meticulously preparing your bike for the track, is the essence of true supersport ownership. It’s about moving beyond being a mere rider to becoming a knowledgeable, responsible custodian of a piece of high-performance engineering.