Passing tech inspection isn’t about a checklist; it’s about adopting a professional’s mindset to ensure absolute system integrity before you hit the track.
- Your bike’s systems (brakes, suspension, tires) will be pushed beyond street limits, and stock components often represent the first point of failure.
- Safety is a process, not a one-time prep. It involves understanding *why* components fail under stress and mitigating those risks proactively.
Recommendation: Treat every preparation step not as a task to be completed, but as a critical safety protocol. Your day, and your safety, depend on it.
The line for tech inspection is where hope meets reality. You’ve paid your money, woken up at dawn, and towed your machine to the circuit. But the person with the clipboard and the critical eye holds the key to your day. Many riders approach this moment with a simple checklist mentality: tape lights, check tire pressure, done. This is the first mistake. Track riding isn’t an extension of a Sunday cruise; it is an environment that pushes every component to its absolute limit.
The standard advice often overlooks the fundamental principle of ‘mechanical empathy’—the understanding of the immense stress your motorcycle will endure. It’s not just about preventing a fluid leak; it’s about understanding why a stock brake line swells, why suspension dives uncontrollably, and why street tires overheat. This guide moves beyond the platitudes. It is not written by a blogger, but from the perspective of the scrutineer who has seen firsthand the consequences of a shortcut.
The core philosophy we will adopt is the ‘Scrutineer’s Mindset.’ This means shifting from “what do I need to do?” to “what is the potential failure point, and how do I eliminate it?” It’s a zero-tolerance protocol for safety. We will systematically analyze the non-negotiable modifications and checks required to transform a street bike into a safe and competent track machine, ensuring you spend your day on the circuit, not in the pits arguing over a failed inspection.
This comprehensive guide will break down the essential areas of preparation, from the initial teardown and fluid dynamics to chassis protection and insurance realities. Follow these steps not as a list, but as a discipline, and you will build a machine that is not only fast but, more importantly, fundamentally safe.
Summary: A Scrutineer’s Guide to Bulletproof Motorcycle Preparation
- What to Remove First: Mirrors, Lights, or Kickstand for Track Use?
- Why Stock Brake Fluid Boils After 5 Laps and How to Prevent It?
- Frame Sliders vs Engine Case Covers: Which Saves Your Engine in a Lowside?
- Do You Really Need Tire Warmers for Intermediate Track Days?
- How to Stiffen Compression Damping for Hard Braking Zones?
- Hypersport vs Sport-Touring Tires: Which Suits a Superbike Ridden Daily?
- Does Your Standard Street Policy Cover “Non-Timed” Education Days at the Track?
- Your First Track Day: How to Prepare Your Mind and Machine for the Novice Group?
What to Remove First: Mirrors, Lights, or Kickstand for Track Use?
The first step in track preparation is subtraction. You must remove anything that can shatter, fall off, or distract. This isn’t about aesthetics; it’s about eliminating risk. Glass and hard plastics become projectiles in a crash. A dangling license plate is a sharp edge waiting to cause injury. The priority is to create a clean, solid, and safe machine. Taping over lights is a minimum requirement, but complete removal of mirrors and indicators is the professional standard. It removes potential debris and, crucially, eliminates the street-riding habit of checking behind you, forcing focus forward where it belongs.
The kickstand is another critical item. While some organizations allow it to be zip-tied or wired up, this is a compromise. The risk of it deploying during extreme lean angles or under heavy vibration is real and the consequences are catastrophic. The correct procedure is complete removal, which necessitates the use of front and rear paddock stands. This is a non-negotiable part of a proper track day setup. The cost of a track day itself, with industry data showing track days typically cost $150-$300 per day, is significant enough that you should not risk it with improper preparation.
Your workflow should be methodical. Start with the fragile items. Tape all glass lenses—headlights, taillights, and turn signals—with painter’s tape. Never use duct tape, as its adhesive residue is a nightmare to remove. Next, address the kickstand. If you choose not to remove it, it must be secured with heavy-duty zip ties or safety wire so it has zero chance of movement. Finally, remove the license plate assembly and mirrors. This isn’t just about safety; it improves aerodynamics and removes a significant source of distraction. Document torque specifications for all removed bolts for correct reassembly later.
Why Stock Brake Fluid Boils After 5 Laps and How to Prevent It?
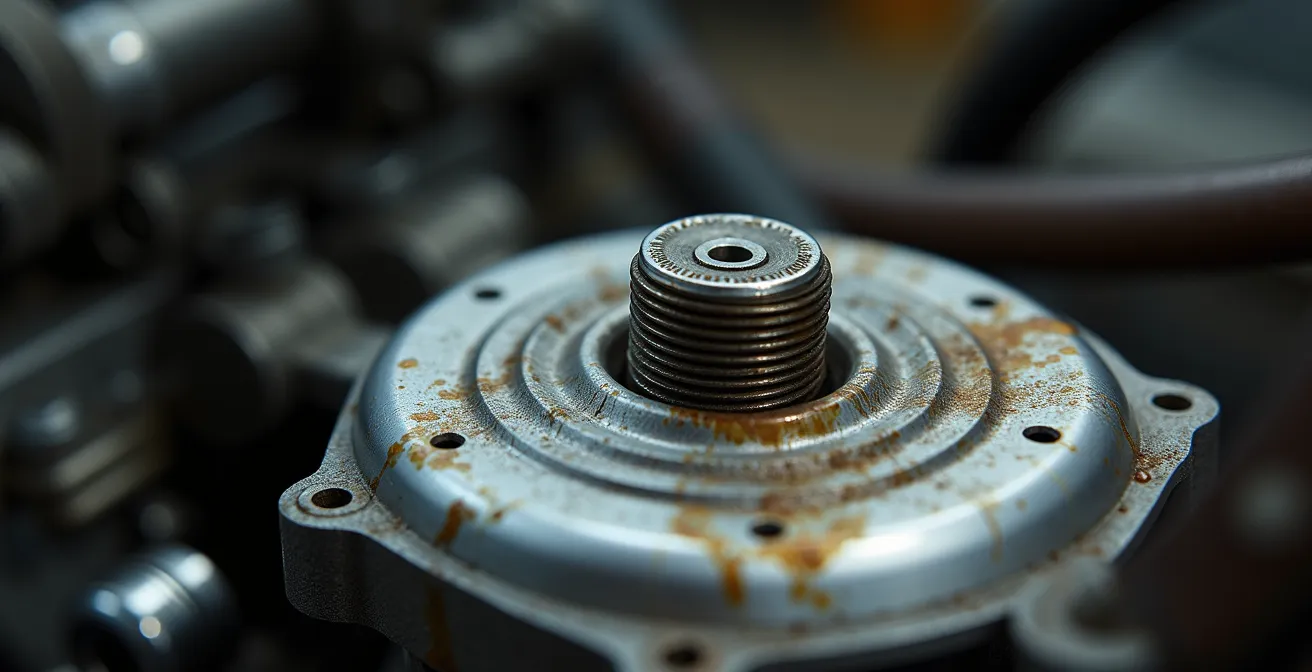
Your brake system is the single most important safety feature on your motorcycle. On the street, you rarely use more than 30% of its capacity. On the track, you will use 100% of it, lap after lap. This repeated, intense heat loading is something standard brake fluid is not designed for. Stock DOT 3/4 fluid is hygroscopic, meaning it absorbs water from the atmosphere over time. While the minimum boiling point of standard DOT3 brake fluid is 205°C (401°F) when dry, this temperature plummets as moisture content increases. Under track conditions, this moisture turns to steam, creating compressible gas in your non-compressible hydraulic system. The result is ‘brake fade’: your lever goes soft, travels to the bar, and you have no brakes.
This is not a possibility; it is an inevitability with old or inadequate fluid. Preventing it is a zero-tolerance protocol. You must replace your stock fluid with a high-performance, high-temperature racing brake fluid (like a DOT 5.1 or a high-spec DOT 4) before your first track day. This fluid has a much higher boiling point, both wet and dry, providing the margin of safety you need under extreme use. The fluid must be completely flushed and bled until it runs perfectly clear, with zero air bubbles.
As the image demonstrates, the bleeding process removes the old, dark, contaminated fluid and replaces it with fresh, high-performance fluid. There are several methods to achieve this. A vacuum or pressure bleeder is most effective at removing the microscopic air bubbles that can initiate boiling, but even a simple gravity bleed is better than doing nothing. For serious track use, consider upgrading to stainless steel braided brake lines. They do not expand under pressure and heat like rubber hoses, providing a firmer lever feel and eliminating another variable in the braking system’s integrity.
Frame Sliders vs Engine Case Covers: Which Saves Your Engine in a Lowside?
A lowside crash is a matter of ‘when’, not ‘if’ for any serious track rider. Preparing your bike to survive one is essential. The two primary forms of protection are frame sliders and engine case covers, and they serve different but complementary roles. Frame sliders are designed to keep the main chassis and bodywork off the ground during a slide. They act as a sacrificial pivot point. However, their effectiveness is highly dependent on the crash scenario. In a simple, sliding lowside, they work well. In a crash where the bike tumbles or digs in, a long frame slider can act as a lever, catching the ground and potentially flipping the bike, causing far more damage, or even cracking the frame at its mounting point.
Engine case covers, on the other hand, are designed for one purpose: to protect the thin, brittle magnesium or aluminum engine cases from being ground through during a slide. If an engine case is breached, your day is over. It will dump oil all over the track, creating a hazard for other riders and likely causing terminal damage to your engine. This is why most track day organizations and all race series now mandate their use. They provide a robust, sacrificial layer of thick plastic or carbon/Kevlar composite directly over the vulnerable alternator, clutch, and pulse covers. The choice is not ‘either/or’. A layered defense is the only correct approach.
This comparative table clarifies their roles. Frame sliders offer general protection, while engine covers provide specific, critical defense for the powertrain.
| Protection Type | Lowside Slide | Bike Tumbling | Highside | Cost |
|---|---|---|---|---|
| Frame Sliders | Good | Risk of catching/flipping | Variable | $80-200 |
| Engine Case Covers | Good | Superior protection | Variable | $150-400 |
| Both Combined | Excellent | Best overall | Maximum protection | $230-600 |
As confirmed by expert analysis, the material and design are critical. An `Etude de Cas` from cycle-world’s experts highlights that Delrin or other high-density polymer sliders are superior as they are designed to grind away and absorb energy. Aluminum sliders can dig in and transfer impact force directly to the frame. For a scrutineer, a bike equipped with both high-quality “no-cut” frame sliders and full engine case covers demonstrates a serious understanding of failure point analysis. It is the accepted best practice for preserving your machine and ensuring the safety of others.
Do You Really Need Tire Warmers for Intermediate Track Days?
The debate over tire warmers is common in the paddock, especially for riders moving into the intermediate group. The simple answer is: they are a tool, not a necessity, but they are a tool that promotes safety and consistency. Modern hypersport tires are designed to work at very high temperatures, far hotter than they will ever get on the street. Without warmers, the first 2-3 laps of every session must be dedicated to slowly and progressively building heat into the tire carcasses. Going out “cold” and pushing hard immediately is the number one cause of first-lap crashes.
As the MCN Technical Expert notes, their value is clear, but context is everything. An expert opinion from their guide states:
Warmers are a benefit, especially for track-specific tyres with high operating temperatures. But they’re not essential: going straight out of pitlane at full speed isn’t wise when riders around you will be going at warm-up pace
– MCN Technical Expert, Motorcycle News Track Day Guide
However, the benefits go beyond just first-lap grip. An often-overlooked advantage is tire life. A significant amount of tire wear occurs during heat cycles—the process of going from cold to hot and back to cold. An `Etude de Cas` on heat cycle management shows that tire warmers can significantly extend tire life by keeping the tire at a stable operating temperature between sessions, thus subjecting it to only one major heat cycle per day. This can effectively offset the purchase cost of the warmers over a season of riding. For an intermediate rider starting to push the pace, tire warmers remove a major variable, allowing them to focus on learning the track and refining their technique from the moment the green flag drops.
If you choose not to use them, a disciplined warm-up procedure is mandatory. Start your first lap at no more than 60% of your potential pace, focusing on smooth inputs and loading the tires progressively. Use the second and third laps to gradually increase pace, feeling for the grip to improve as the tires come up to temperature. A lack of warmers is not an excuse for a lack of discipline.
How to Stiffen Compression Damping for Hard Braking Zones?
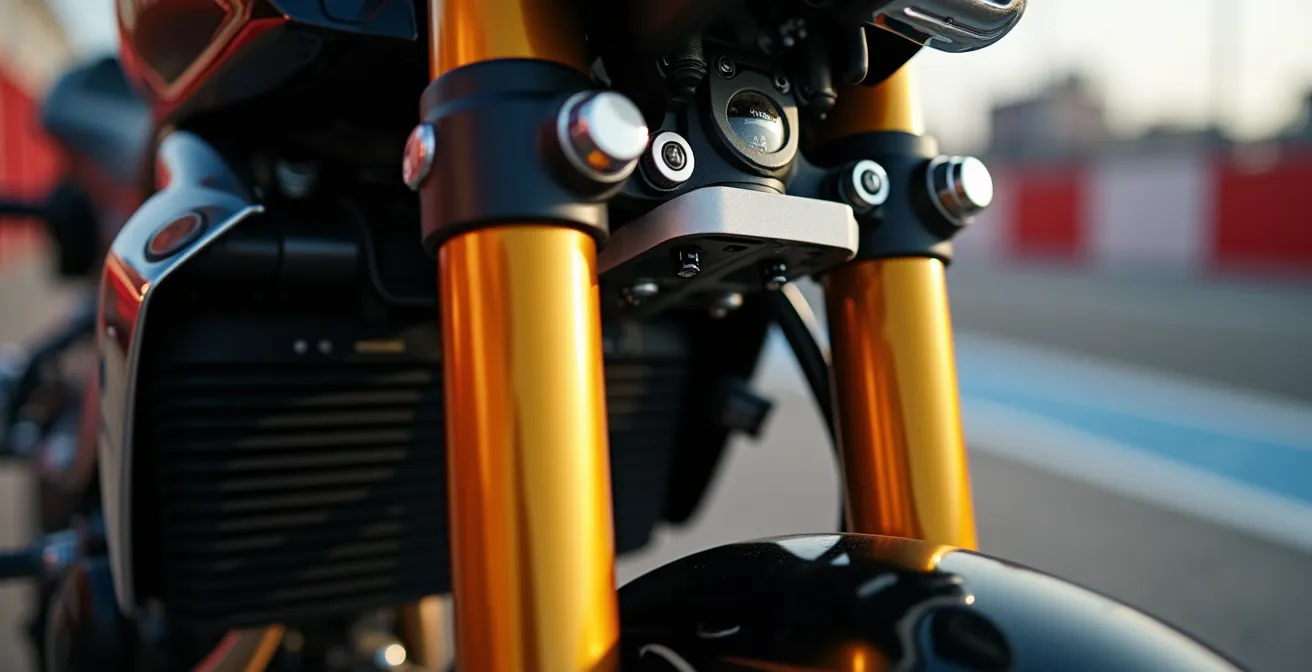
As your pace increases, you will brake later and harder. This is where you will discover the limitations of your bike’s stock suspension settings. The most common issue is excessive “fork dive,” where the front forks compress too quickly and too deeply under braking. This dramatically alters the bike’s geometry, reducing rear-end grip and making the bike unstable on corner entry. The solution lies in adjusting your front fork’s compression damping. This circuit controls the speed at which the fork is allowed to compress. Increasing it will slow the dive, keeping the chassis more stable.
However, you cannot adjust what you do not measure. The “zip-tie method” is a simple but essential diagnostic tool. Place a zip-tie snugly around one of your fork stanchions, pushed down against the dust seal. After a session with heavy braking, return to the pits and observe how far the zip-tie has been pushed up the fork tube. This shows your maximum suspension travel. Ideally, you want to use about 90% of the available travel, leaving a 10-15mm margin for emergency inputs or bumps. If the zip-tie is pushed all the way to the top, you are “bottoming out” the fork, which is both dangerous and slow. You must add more compression damping.
Adjustments must be made methodically. As suspension specialists advise, it’s best to work in small increments. Most professional suspension specialists recommend making damping adjustments in increments of 2-3 clicks at a time. Make a change, go out for another session, and re-measure. Remember that suspension is a system; changing compression will affect how the rebound circuit works. It’s a balancing act that requires patience. Document every change you make in a notebook.
Action Plan: Diagnosing Fork Travel with the Zip-Tie Method
- Place a small zip-tie around the fork stanchion, pushed up against the fork seal before your session.
- Complete a session that includes several hard braking zones to generate maximum fork compression.
- In the pits, measure the distance from the dust seal to the zip-tie’s new position. This is your used travel.
- If you are using more than 90% of total travel (bottoming out), increase compression damping by 2 clicks clockwise. If using too little (less than 70%), decrease by 2 clicks.
- After adjusting compression, ensure the fork returns smoothly. If it feels like it’s “packing down” over bumps, you may need to adjust rebound damping to match.
Hypersport vs Sport-Touring Tires: Which Suits a Superbike Ridden Daily?
For the rider whose superbike doubles as a daily commuter and a weekend track toy, tire choice is a game of critical compromises. You are asking one product to perform in two wildly different environments. Sport-touring tires are designed for longevity and all-weather performance. They feature durable, harder rubber compounds in the center for high mileage on the highway and have extensive tread patterns to evacuate water. They warm up quickly and provide excellent grip in a wide range of street temperatures.
Hypersport tires, by contrast, are single-minded. They are built for maximum dry grip at extreme temperatures. Their construction is softer, their profile is more aggressive for faster turn-in, and their tread pattern is minimal (‘slick-like’) to maximize the contact patch. On the track, they are sublime. On the street, their drawbacks become apparent: they wear out extremely quickly, offer poor wet-weather performance, and require aggressive riding to stay in their optimal temperature range. Using a hypersport tire for daily commuting is not only expensive but can be less safe in varied conditions.
The following table illustrates the stark differences in performance and cost, making it clear that these are two different tools for two different jobs.
| Characteristic | Hypersport Tires | Sport-Touring Tires |
|---|---|---|
| Typical Lifespan | 2,000-4,000 miles | 5,000-10,000 miles |
| Heat-up Time | 5-10 minutes aggressive riding | 2-3 minutes normal riding |
| Wet Weather Grip | Limited | Excellent |
| Center Compound | Soft throughout | Harder center/softer edges |
| Cost per Mile | $0.15-0.25 | $0.05-0.10 |
Tire pressure is another critical variable. Street pressures and track pressures are not the same. As MCN Workshop Expert Bruce Dunn states, heat is the deciding factor:
Most brands recommend 42psi rear and 36psi front for road riding. On track you’ll be accelerating and braking harder, generating more heat. Therefore you must reduce your pressures for track use.
– Bruce Dunn, MCN Workshop Expert
Running high street pressures on track will cause the tire to overheat rapidly, become greasy, and lose grip. For the dual-purpose rider, the best solution is often a high-end sport-touring tire with softer compounds on the edges or, ideally, two separate sets of wheels: one with durable sport-touring tires for the street and another with dedicated hypersport or track-specific tires for the circuit. This is the only way to have the right tool for the job without compromise.
Does Your Standard Street Policy Cover “Non-Timed” Education Days at the Track?
This is a question riddled with ambiguity and financial risk. The answer is almost universally no. Standard motorcycle insurance policies are written to cover use on public roads. They contain specific exclusion clauses for any activity that takes place on a “surface designed for racing,” “in any form of competition or timed event,” or during “high-performance driver education.” The term “non-timed” is a distinction that your insurance company will likely ignore. From their perspective, if you are on a racetrack, you are engaging in a high-risk activity that falls outside the scope of your policy.
Assuming you have coverage is a catastrophic financial gamble. Even a simple, minor lowside at the track without insurance coverage can result in repair costs of $5,000-$15,000 for a modern sportbike. This figure does not include the potential cost of track repairs (e.g., to a damaged air fence) or, more importantly, liability if your incident involves another rider. You must read your policy document carefully, searching for the exclusion keywords. Do not take your agent’s verbal assurance as a guarantee; get it in writing. If you ask, frame the event as “advanced rider safety training” on a “closed course,” but be prepared for the answer to be a denial of coverage.
The only safe solution is to purchase dedicated, standalone track day insurance. Several providers specialize in this coverage, offering policies on a per-day basis. The cost typically ranges from $150 to $500, depending on the declared value of your bike and your chosen deductible. This insurance covers physical damage to your motorcycle while on the track. It is the only way to mitigate the significant financial risk associated with track riding. Showing up to the track without understanding your coverage is as negligent as showing up with bald tires.
Key Takeaways
- System Integrity is Paramount: Your bike’s preparation is a single, interconnected system. A failure in one area (e.g., brakes) compromises the entire system.
- Proactive vs. Reactive: The scrutineer’s mindset is about anticipating failure points (boiling fluid, worn tires, loose bolts) before they happen, not just ticking boxes.
- Tools, Not Rules: Items like tire warmers and suspension adjustments are not just for pros. They are tools for managing risk and increasing safety and consistency at any level.
Your First Track Day: How to Prepare Your Mind and Machine for the Novice Group?
Your first track day is an exercise in managing cognitive load. The environment is loud, fast, and saturated with new information: flags, track rules, body position, and the racing line. The single most important goal for your first day is not to be fast, but to be predictable and safe. Your mental preparation is more important than your machine’s. Arrive early, at least an hour and a half before the rider’s meeting. This gives you time to set up your pit area, register, and get through tech inspection without being rushed. A calm start sets the tone for a calm day.
Set realistic goals. “Learning the racing line” and “completing every session without incident” are excellent goals. “Trying to keep up with the fast guys” is not. The novice group is a classroom, not a race. Everyone is there to learn. Listen intently during the rider’s meeting and ask questions. Understand the rules for passing and the meaning of every flag. Pack for endurance: bring a chair, shade, sunscreen, and far more water and healthy snacks than you think you’ll need. Dehydration is a leading cause of fatigue and poor decision-making.
The social etiquette of the paddock and track is part of the safety system. Maintain a strict 20mph speed limit in the paddock. When being passed on track, hold your line and give a clear two-finger wave to acknowledge the faster rider. As the Life at Lean guide wisely puts it, you are not alone in your nervousness:
You’ll no doubt be a little nervous at this point but don’t be, there are a lot of people in your group in the same position, so just go out with the intention of taking it easy and learning the ropes and you’ll have a superb day.
– Life at Lean Track Day Guide, Motorcycle Track Day Guide
Your machine preparation should reflect this “safety first” mindset. Ensure your bike is in perfect mechanical condition with fresh fluids, good tires, and properly functioning brakes. But on the day itself, focus on learning. Absorb the instruction, ride within your limits, and prioritize bringing yourself and your bike home in one piece. The speed will come later; the foundation of safety must be built first.
Begin your track day preparation at least one week in advance. Use this guide as a systematic protocol, not a casual checklist. Approach each step with the discipline of a professional, understanding that the work you do in the garage is the most important part of your safety on the circuit.
Frequently asked questions on Track Day Prep: A Scrutineer’s Guide to Bulletproof Motorcycle Preparation
What keywords should I look for in my insurance policy?
Search for terms like ‘racing,’ ‘competition,’ ‘timed event,’ ‘high-performance driving school,’ and ‘closed course’ – these typically indicate exclusions.
What standalone track day insurance options are available?
Providers like OnTrack, Lockton, and Hagerty offer single-day coverage ranging from $150-500 depending on bike value and deductible.
How should I ask my insurance agent about coverage?
Frame it as a ‘rider education course’ or ‘advanced safety training’ rather than mentioning ‘track day’ to avoid immediate red flags.