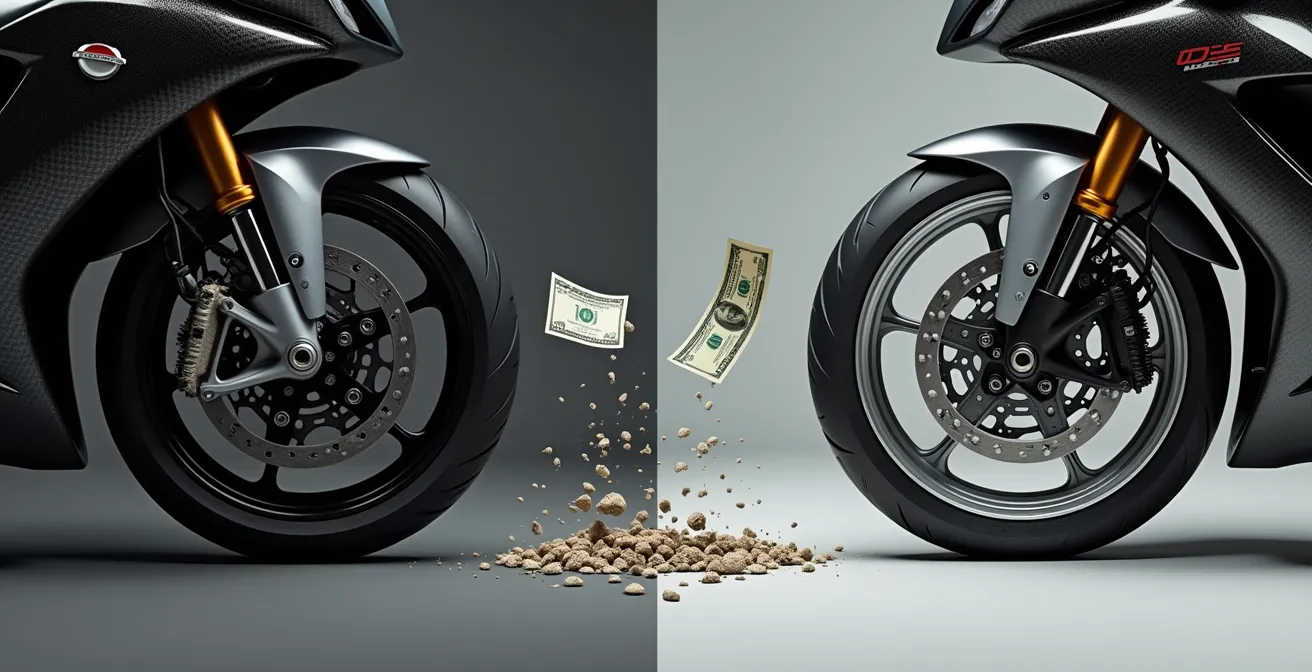
The $3,000 investment in carbon fiber wheels is justified not by simple weight loss, but by the disproportionate performance gains governed by the physics of rotational inertia and suspension dynamics.
- Reducing mass at the wheel’s perimeter (rotational inertia) has a greater effect on acceleration and braking than removing static weight from the chassis.
- Lighter wheels decrease gyroscopic precession, allowing for significantly faster and less strenuous direction changes and turn-ins.
Recommendation: For a dedicated track enthusiast, the measurable improvement in lap times and reduction in rider fatigue make carbon fiber a logical performance investment, while forged aluminum remains the superior choice for durability on compromised public roads.
For the dedicated track enthusiast, the quest for lower lap times is a relentless exercise in optimization. We upgrade suspension, tune engines, and shed every possible gram. Yet, the conversation around wheels often stalls at a deceptively simple question: is saving a few pounds of unsprung weight worth a multi-thousand-dollar investment? This debate, typically framed as a battle between carbon fiber and forged aluminum, fixates on the raw numbers—3 lbs saved for $3,000 spent. This simplistic view misses the fundamental physics at play. The true value isn’t in the weight loss itself, but in *where* that weight is removed and the cascading effects it has on the motorcycle’s entire dynamic system.
Common wisdom states that reducing unsprung mass improves handling, and that carbon is lighter but more fragile, while forged aluminum is the durable middle ground. These are not incorrect, but they are incomplete. They fail to explain the profound difference between static mass and rotational mass, or the nuanced role of gyroscopic precession in a high-speed corner. They are the what, without the why. To truly understand the $3,000 question, we must move beyond the garage-talk and into the realm of applied physics.
This analysis will dissect the specific mechanical principles governing wheel performance. We will not merely state that lighter is better; we will explain the science of rotational inertia, suspension compliance, and material stress-strain relationships. We will explore the practical implications, from the myths surrounding oversized tires to the hidden dangers of improper customization. By the end, the decision to invest in a wheel upgrade will no longer be a leap of faith based on a marketing slogan, but a calculated choice informed by a deep understanding of the forces that separate a good lap from a great one.
This article provides a comprehensive, physics-based examination of motorcycle wheel performance for the serious rider. Explore the sections below to delve into the specific principles and practical considerations that define the ultimate rolling stock upgrade.
Table of Contents: A Physicist’s Guide to Motorcycle Wheel Dynamics
- Tubeless Conversion Kits: Are They Reliable for Adventure Riding?
- The 200mm Tire Myth: Why Putting a Fat Tire on a Stock Rim Kills Handling?
- Direct Fit vs Cush Drive Swap: What to Verify When Buying Used Aftermarket Wheels?
- How to Balance Oversized Custom Wheels That Won’t Fit on a Standard Balancer?
- Can Powder Coating Heat Treat Weaken Your Aluminum Rims?
- Spoked vs Cast Wheels: Which Survives Potholes Better?
- The Flat Spot: Is It Safe to Ride on a Squared-Off Rear Tire?
- Cast vs Forged vs Billet: Which Wheel Construction Survives City Potholes Best?
Tubeless Conversion Kits: Are They Reliable for Adventure Riding?
For adventure riders, the debate between tube-type and tubeless systems is a matter of practical reliability far from civilization. Tubeless conversion kits, which use specialized tape and valves to seal a traditional spoked rim, offer a compelling proposition: the ability to quickly plug a puncture without removing the wheel. However, their reliability is a function of installation quality and the inherent compromises of the system. A perfectly applied tape job on a clean, undamaged rim can provide years of service. Conversely, a poorly prepped surface or a slight dent in the rim can lead to slow leaks or, in a worst-case scenario, a sudden loss of pressure known as “burping” under a hard side-load.
The primary advantage is trail-side reparability. A simple plug can seal a typical nail or thorn puncture in minutes, a significant improvement over the laborious process of removing a wheel to patch or replace an inner tube. Factory tubeless wheels, often found on premium adventure models, offer the highest degree of reliability, but conversions represent a viable and popular aftermarket solution. The trade-off is a slightly higher risk of catastrophic failure compared to a standard tube, but a significantly faster repair time for the vast majority of common punctures.
This repairability matrix highlights the practical trade-offs an adventure rider faces when choosing a tire system.
| Repair Type | Tubeless Conversion | Standard Tube | Factory Tubeless |
|---|---|---|---|
| Tools Required | Plug kit, CO2, sealant | Tire irons, patch kit, pump | Plug kit, CO2 |
| Repair Time | 5-10 minutes | 15-25 minutes | 3-5 minutes |
| Success Rate | 85% (tape dependent) | 95% | 90% |
| Catastrophic Failure Risk | Medium (burping) | Low | Low |
Ultimately, the reliability of a tubeless conversion is directly proportional to the meticulousness of its installation. For the rider willing to invest the time in a perfect setup, the benefits of rapid, on-the-trail repairs often outweigh the inherent risks.
The 200mm Tire Myth: Why Putting a Fat Tire on a Stock Rim Kills Handling?
The desire for a wider rear tire is a common aesthetic modification, but it often comes at a steep, and misunderstood, cost to performance. The “200mm tire myth” stems from forcing a wide tire onto a rim designed for a narrower profile, for example, a 180mm. This practice fundamentally violates the design principles of both the tire and the motorcycle’s chassis dynamics. A tire is engineered to have a specific, rounded profile when mounted on a correctly sized rim. This profile ensures a predictable and consistent contact patch shape as the motorcycle leans.
When “pinched” onto a narrow rim, the tire’s intended round profile is deformed into a more triangular shape. This has two immediate negative consequences. First, it reduces the size of the contact patch when the bike is upright, compromising straight-line grip. Second, and more dangerously, as the bike leans, the transition from the flattened center to the steep shoulder of the tire becomes abrupt and non-linear. Instead of a smooth, progressive increase in contact patch, the bike “falls” into the corner, leading to unstable and unpredictable handling. This modification single-handedly destroys the meticulous work of the chassis engineers.
As the illustration demonstrates, the pinched profile creates a sharp peak, while the correct fit maintains a smooth, rounded curve essential for progressive lean. The performance cost is not trivial; independent testing showed that proper wheel setup improved lap times by up to 19 seconds over an improperly configured system. The pursuit of aesthetics, in this case, directly sabotages the motorcycle’s dynamic performance and safety.
Before modifying tire size, a rider must consult the manufacturer’s specifications for both the tire and the wheel. The correct approach is to match the tire to the rim, not force the tire to fit, ensuring the bike’s handling dynamics remain intact.
Direct Fit vs Cush Drive Swap: What to Verify When Buying Used Aftermarket Wheels?
Purchasing used aftermarket wheels can be a cost-effective way to access high-performance components, but it’s a market fraught with hidden complexities. The most critical distinction to understand is between a “direct fit” wheel and one that requires swapping components like the cush drive, spacers, and sprocket carrier from the original wheel. A true direct-fit wheel set should install using all original OEM hardware, including axles, spacers, brake rotors, and the sprocket assembly. However, many high-end wheels, particularly those from brands like BST or Marchesini, use proprietary components for weight-saving or design reasons.
When buying used, it is imperative to get a detailed, itemized list of what is included. Are the specific wheel spacers present? Does it include the proprietary, lightweight sprocket carrier? Are the specialized, and often expensive, rotor bolts part of the deal? Failure to verify these details can turn a perceived bargain into a costly project, where sourcing missing proprietary parts erases any initial savings. A cush drive, in particular, is a frequent point of confusion. Some aftermarket wheels integrate their own cush drive system, while others require the OEM unit to be transferred.
Case Study: The Hidden Costs of an Incomplete Used Wheel Purchase
A rider’s experience documented on Brock’s Performance blog provides a stark warning. The rider purchased used BST carbon fiber wheels for $2,000, assuming it was a significant saving. However, the purchase was missing the proprietary spacers ($300), the required sprocket carrier ($450), and the specific rotor bolts ($150). These omissions immediately added $900 to the cost. Furthermore, a set of specialized bearing spacers required custom machining at an additional $200. The “great deal” rapidly inflated to a total cost of $3,100, which was more than the price of a brand-new, complete set from the manufacturer.
A simple rule of thumb: if the seller cannot provide a clear photo of every single component—spacers, carriers, bolts, and bearings—and confirm its compatibility with your specific model year, it is wiser to walk away from the deal.
How to Balance Oversized Custom Wheels That Won’t Fit on a Standard Balancer?
Balancing oversized or unconventionally shaped custom wheels presents a significant mechanical challenge, as they often exceed the physical capacity of standard dynamic spin balancers found in most tire shops. For these applications, the most reliable and accessible method is static balancing. This technique relies on a fundamental principle of physics: gravity. An imbalanced wheel is, by definition, a wheel with an uneven mass distribution. When allowed to rotate freely on a near-frictionless axis, the heaviest point will naturally settle at the lowest position (6 o’clock).
To perform a static balance, the wheel is mounted on a specialized stand consisting of two parallel, perfectly level bars that allow it to spin with minimal resistance. By marking the heavy spot that rotates to the bottom and adding counterweights to the exact opposite point on the rim (12 o’clock), one can systematically neutralize the imbalance. The process is iterative; weight is added in small increments, and the wheel is re-tested by rotating it 90 degrees. A perfectly balanced wheel will remain stationary regardless of its orientation, as its mass is now evenly distributed around the rotational axis. While shops with specialized equipment can be found, they often charge a premium, with some reporting rates of $150-200 per tire change for such custom work.
Your Action Plan: DIY Static Balancing for Oversized Wheels
- Setup the Stand: Create or acquire a static balancing stand. This consists of two parallel, level bars on which the wheel axle can rest and rotate with minimal friction. Ensure the stand is on a perfectly level surface.
- Mount and Settle: Mount the wheel with its axle and cone adapters onto the stand, ensuring it can rotate freely. Give it a gentle spin and allow it to settle naturally. The heaviest point will rotate to the bottom (6 o’clock position).
- Mark the Heavy Spot: Once the wheel has completely stopped, use chalk or a grease pencil to mark the exact lowest point on the tire or rim. This is your heavy spot.
- Apply Counterweight: Rotate the wheel so the marked heavy spot is now at the top (12 o’clock). Apply an initial balancing weight to the rim at the exact bottom (the lightest point). Start with a 10-15 gram weight.
- Test and Refine: Rotate the wheel 90 degrees. If it remains stationary, your balance is close. If it still rotates, adjust the weight amount or position slightly. Repeat this process, fine-tuning with smaller 5-gram increments, until the wheel remains static at any rotational position.
While dynamic spin balancing is faster, static balancing, when done meticulously, is just as accurate and remains the gold standard for applications where standard machinery falls short.
Can Powder Coating Heat Treat Weaken Your Aluminum Rims?
Yes, improperly applied powder coating can catastrophically weaken aluminum rims through a process called annealing. The issue lies in the curing temperature. Forged aluminum alloys, such as the common 6061-T6, derive their exceptional strength from a precise heat treatment and quenching process that aligns their grain structure. The “T6” designation signifies this specific temper. If these wheels are subsequently heated to a temperature that exceeds their artificial aging threshold (typically around 400°F or 204°C), this carefully engineered temper is undone. The alloy’s crystalline structure is altered, and it begins to revert to a softer, weaker state.
Standard powder coating curing processes can operate at temperatures of 400-450°F, placing them directly in the danger zone for T6-tempered aluminum. This exposure can be devastating to the material’s mechanical properties. According to technical documentation from wheel manufacturers, powder coating at temperatures above 400°F can cause a 30-50% reduction in tensile strength. This doesn’t mean the wheel will fail instantly, but its resistance to impact and fatigue is severely compromised, making a catastrophic failure from a pothole strike much more likely. For cast aluminum wheels, the risk is lower as their initial strength is less dependent on heat treatment, but for high-performance forged wheels, it’s a critical safety concern.

The microscopic view reveals the truth: the ordered, strong grain structure is disrupted by excessive heat, leaving a weaker, more granular material. Safer customization alternatives exist, such as low-temperature-cure powder coats, high-quality 2K paints, or Cerakote, which cures at much lower temperatures and offers excellent durability. Anodizing is another option, though it requires stripping the original finish and can necessitate a complete re-tempering process to restore strength, a complex and expensive procedure.
Before any custom coating, it is essential to consult with both the wheel manufacturer and a coating specialist who understands the metallurgy of performance alloys and can guarantee a low-temperature curing process.
Spoked vs Cast Wheels: Which Survives Potholes Better?
The question of which wheel type better survives urban obstacles like potholes is a classic engineering trade-off between ductile and brittle failure. Cast aluminum wheels are manufactured by pouring molten aluminum into a mold. This process is cost-effective and creates strong, rigid structures. However, the resulting grain structure makes the material relatively brittle. When a cast wheel encounters a sharp, high-energy impact that exceeds its elastic limit, it has very little ability to deform. Instead of bending, it is likely to crack or shatter catastrophically. This creates a sudden, and potentially uncontrollable, loss of air and structural integrity.
Spoked wheels, conversely, are a composite structure of a rim, hub, and dozens of steel spokes under tension. This design provides a significant degree of engineered flex and compliance. When a spoked wheel hits a pothole, the impact energy is distributed through the spokes, and the softer aluminum or steel rim can deform or bend. While this may result in a dent and a wobbly wheel, it is a “graceful” failure. The wheel typically remains structurally intact, and the tire often stays inflated, allowing the rider to maintain control and come to a safe stop. Furthermore, a bent spoked rim can often be repaired or trued, and individual spokes can be replaced.
This fundamental difference in failure mode is eloquently summarized by one of motorcycling’s most respected technical minds:
A cast wheel resists bending but can crack catastrophically. A spoked wheel bends more easily but fails gracefully and is often field-repairable
– Kevin Cameron, Cycle World Technical Editor
For a pothole-riddled urban environment, the ductile, repairable failure mode of a spoked wheel offers a clear safety and practical advantage over the brittle, catastrophic failure risk of a cast wheel.
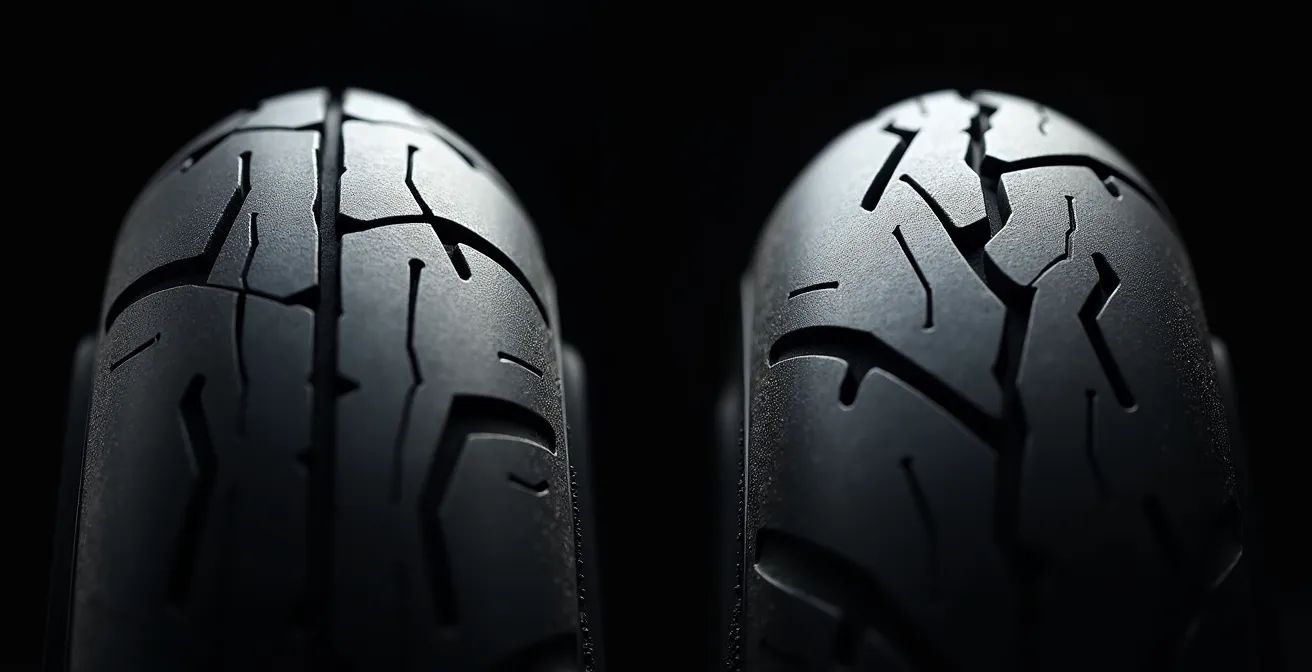
The Flat Spot: Is It Safe to Ride on a Squared-Off Rear Tire?
Riding on a squared-off rear tire is not just a matter of degraded performance; it is a significant safety compromise. A new tire has a continuous, round profile that allows for a smooth, linear transition as the bike leans. A “flat spot” develops from extensive highway or commuter riding, where the center of the tire wears down faster than the shoulders. This creates a distinct ridge between the flattened center and the unused, rounded sides. When the rider attempts to lean the bike for a turn, they must physically force the tire over this ridge, resulting in a sudden, unnerving “fall-in” sensation. This makes turn-in response heavy, unpredictable, and non-linear, completely destabilizing the motorcycle’s handling dynamics.
Beyond the poor handling, the safety implications are severe. The flat spot introduces a constant source of high-frequency vibration. Due to the physics of unsprung mass, every bump and vibration from the wheel is amplified before it reaches the chassis. Studies from publications like Motocross Action Magazine highlight the 6-to-1 unsprung weight effect, where forces from the tire are magnified, accelerating wear on suspension components, wheel bearings, and drive systems. Moreover, a worn, hardened flat spot has significantly reduced grip, especially in wet conditions. The transition from the worn center to the unworn shoulder during emergency braking or cornering can lead to a sudden loss of traction.
It’s crucial to assess tire wear in stages:
- Stage 1 (Slightly Squared): Turn-in response becomes noticeably slower and requires more effort. The ride is still generally safe but indicates the beginning of performance degradation.
- Stage 2 (Pronounced Flat Spot): The bike exhibits unstable transitions when leaning, with a distinct “fall-in” feeling. Handling is unpredictable and compromised.
- Stage 3 (Worn to Wear Bars): The tire has reached its legal limit of wear. Wet grip is severely compromised, and the tire is no longer safe for public roads.
- Stage 4 (Showing Cords): The internal structure of the tire is exposed. This is a state of imminent catastrophic failure, and the motorcycle should not be ridden under any circumstances. Immediate replacement is required.
While it may be tempting to “use up the rest of the tire,” riding on a squared-off tire introduces unnecessary risk and vibration, and it fundamentally ruins the riding experience. The tire should be replaced as soon as handling becomes unpredictable.
Key takeaways
- The primary benefit of lightweight wheels is the reduction in rotational inertia, which has a greater impact on acceleration and braking than reducing static weight.
- Material choice dictates failure mode: carbon fiber and cast aluminum tend to have brittle, catastrophic failures, while forged aluminum and spoked wheels bend or deform, offering a more “graceful” failure.
- Improper modifications, such as pinching a wide tire on a narrow rim or using high-temperature powder coating on forged aluminum, can negate any performance benefits and introduce critical safety risks.
Cast vs Forged vs Billet: Which Wheel Construction Survives City Potholes Best?
When analyzing a wheel’s ability to survive an impact, we must consider three factors: strength-to-weight ratio, failure mode, and cost. Cast aluminum wheels are the baseline—cost-effective but brittle. Their random grain structure means they resist bending but will crack under sharp impacts. Billet aluminum wheels are machined from a solid block of aluminum. This process is expensive and results in a lot of waste material, but it creates a wheel that is stronger than cast, though not as strong as forged. Its failure mode is also typically a crack.
The superior choice for impact survival is forged aluminum. Forging involves subjecting a solid aluminum billet to immense heat and pressure, forcing the material into its shape. This process aligns the grain structure of the metal, creating a product that is incredibly dense and strong. A forged wheel is significantly stronger and lighter than a cast wheel and can be made lighter than a billet wheel for the same strength. Crucially, its failure mode is ductile—it will bend and deform under an impact that would shatter a cast wheel, often allowing it to be repaired.
And then there is carbon fiber. From a pure strength-to-weight perspective, it is in a class of its own. Data from manufacturers like Blackstone Tek shows that, pound for pound, BST’s testing shows carbon fiber is up to 13 times stronger than aluminum. It offers unparalleled performance in reducing rotational inertia. However, its failure mode is its Achilles’ heel for street use. Like cast aluminum, it is brittle. A severe impact will cause a catastrophic shatter, not a bend. This, combined with its high cost, makes it an ideal choice for the controlled environment of a racetrack but a risky proposition for pothole-strewn city streets.
This table provides a clear comparison of the key decision-making factors for each wheel construction type, evaluating them across cost, strength, and failure characteristics.
| Construction | Cost Index | Strength-to-Weight | Failure Mode | Repairability |
|---|---|---|---|---|
| Cast Aluminum | 1.0x (baseline) | Moderate | Brittle crack/shatter | Not repairable |
| Forged Aluminum | 2.5-3x | Highest | Bend/deform | Often straightenable |
| Billet Aluminum | 2-2.5x | Good | Crack (less brittle) | Not repairable |
| Carbon Fiber | 3-4x | Exceptional | Catastrophic shatter | Not repairable |
For the specific challenge of surviving city potholes, the ductile failure mode and high strength of forged aluminum make it the unequivocal winner. It provides the best balance of performance, durability, and safety for real-world riding conditions.