The allure of a bright LED headlight upgrade for a vintage motorcycle often leads to a scattered, illegal, and dangerous beam pattern. The critical factor for a successful conversion is not raw brightness (lumens), but ensuring the new LED’s light source perfectly aligns with the original reflector’s optical geometry. This technical guide establishes that for most reflector housings, the only way to achieve a sharp, legally compliant cutoff and avoid blinding others is through a complete projector retrofit, which replaces the outdated optics entirely.
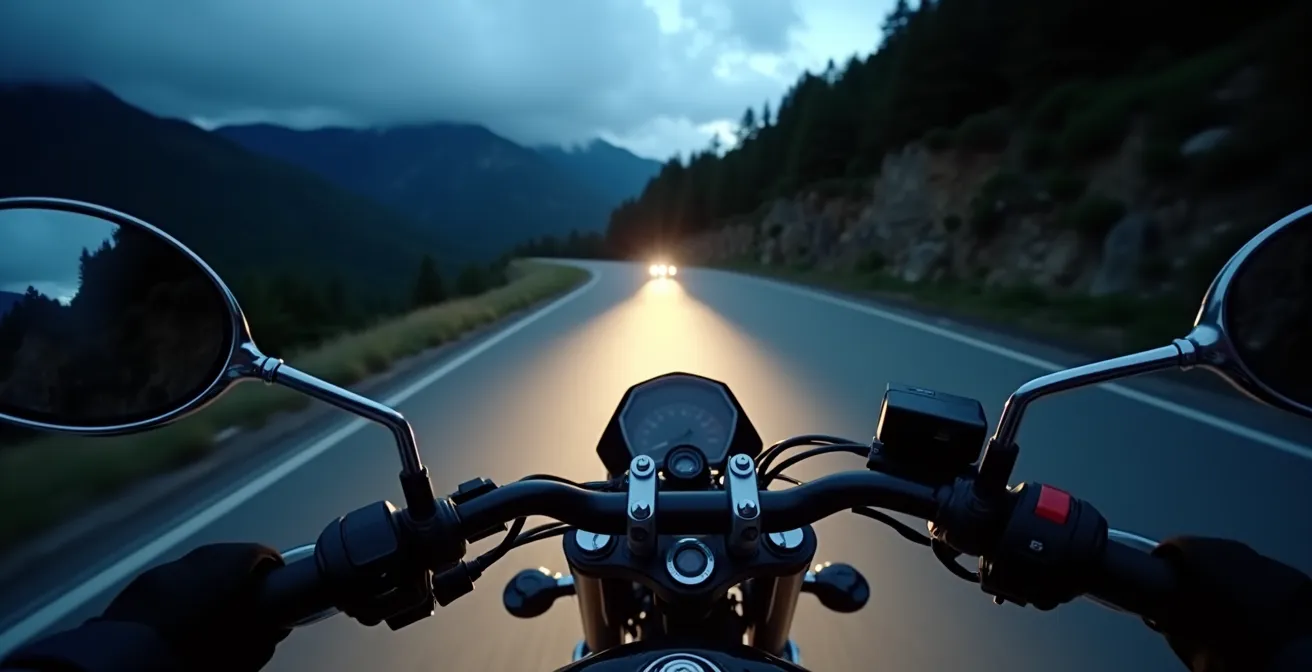
The dim, yellowish glow of a vintage halogen headlight on a dark, winding road is a familiar and unsettling experience for many riders. It paints the world in a warm but inadequate light, reducing reaction times and turning every shadow into a potential hazard. The modern solution appears simple: a plethora of “plug-and-play” LED bulbs available online, all promising daylight-like brightness, extended lifespan, and a sharp, contemporary look. The marketing focuses on massive lumen counts and crisp white color temperatures, suggesting an easy and dramatic improvement in visibility.
This rush to upgrade, however, often overlooks a critical and legally binding principle of automotive lighting. The issue is not the brightness of the bulb itself, but the control of the light it produces. A headlight is a precisely engineered system where the reflector bowl and lens are designed to capture light from a very specific point in space—the tiny, glowing halogen filament—and shape it into a controlled, legal beam pattern. But what if the fundamental key to a safe and effective upgrade was not simply swapping to a brighter bulb, but understanding and respecting this “optical geometry”?
This guide takes the perspective of a compliance officer. It moves beyond simple installation to dissect the technical and legal requirements for modernizing your motorcycle’s entire lighting system safely. We will examine the correct engineering solutions for common LED conversion issues, the physics of light in adverse weather, and the non-negotiable standards for visibility and legality. The central thesis is that a true upgrade is an exercise in precision engineering, not a matter of brute-force brightness. This article will demonstrate how to achieve superior visibility without contributing to the dangerous glare that plagues our roads.
To provide a complete framework for a compliant modernization, this guide examines every critical aspect of your motorcycle’s lighting system. The following sections detail the correct procedures and legal considerations, from turn signals to the definitive solution for headlight performance.
Summary: Halogen vs LED: A Compliance-Focused Upgrade Guide
- Load Resistors vs Flasher Relays: What Is the Correct Way to Fix Fast Blinking Signals?
- Yellow vs White Fog Lights: Which Cuts Through Mist and Rain Better?
- Switched Power Sources: Where to Tap Into the Harness for DRLs?
- Integrated Tail Lights: Are They Legal and Visible Enough for Street Use?
- Fan vs Heatsink: Which LED Bulb Design Lasts Longer in a Sealed Housing?
- When to Use Your Horn: Alerting Drivers vs Startling Them?
- Brake Light Switches: How to Verify Both Hand and Foot Levers Trigger the Light?
- Retrofitting Projectors: How to Get a Razor-Sharp Cutoff Line on an Older Bike?
Load Resistors vs Flasher Relays: What Is the Correct Way to Fix Fast Blinking Signals?
Upon installing LED turn signals, many owners observe “hyperflash,” a rapid blinking rate. This is not a defect in the LED bulb but a diagnostic feature of the motorcycle’s flasher unit. Standard thermal flasher relays are calibrated for the high electrical load of incandescent bulbs. When a low-draw LED is installed, the relay interprets the reduced load as a burnt-out bulb and signals an error via hyperflashing. While there are two common solutions, only one constitutes a correct engineering fix.
The first option, installing a load resistor, is a workaround. The resistor is wired in parallel with the LED signal to artificially increase the electrical load, tricking the stock relay into behaving normally. However, this method negates the primary efficiency benefit of LEDs, as the resistor’s sole function is to convert electrical energy into wasted heat. The second and correct solution, where possible, is to replace the stock flasher relay with an electronic, LED-compatible model. This type of relay is not load-dependent and will flash at the correct, legal rate regardless of the bulb type.
This comparison table outlines the significant technical differences between the two methods, making it clear why a relay upgrade is the superior long-term solution from a compliance and engineering standpoint. The data highlights that while resistors work, they introduce heat, waste power, and present a potential point of failure.
| Feature | Load Resistor | LED Flasher Relay |
|---|---|---|
| Power Consumption | Wastes 21-25W as heat per resistor | No additional power draw |
| Heat Generation | Gets very hot (requires mounting away from plastics) | No heat generated |
| Installation Complexity | Wire in parallel with each signal | Simple plug-and-play replacement |
| Cost | $10-20 per resistor (need 2-4) | $15-30 total |
| Compatibility | Works with any system including CANbus | Only for bikes with replaceable relay |
| Long-term Reliability | Can fail from heat stress | No moving parts, very reliable |
For modern motorcycles with CANbus systems or integrated ECUs where the flasher unit cannot be replaced, load resistors become a necessary measure. In these cases, proper installation is paramount, ensuring resistors are mounted on metal surfaces away from plastic fairings or wiring to safely dissipate the significant heat they generate.
Yellow vs White Fog Lights: Which Cuts Through Mist and Rain Better?
A common debate in auxiliary lighting concerns the optimal color for fog lights. The prevailing belief that yellow light “cuts through” fog more effectively than white light is a misconception. From a physics standpoint, all visible light wavelengths are scattered by the water droplets in fog and heavy rain. However, the *color* of the light significantly impacts the rider’s perception and eye strain by mitigating a phenomenon known as Rayleigh scattering.
White light, especially from cool-white LEDs (6000K and above), contains a high amount of blue wavelength light. These short, high-energy wavelengths are more easily scattered by tiny water particles in the air. This scattering creates a wall of glare or “backscatter” that reflects directly back into the rider’s eyes, constricting the pupils and severely reducing perceived contrast and visibility. It is the same principle that explains why the sky appears blue.
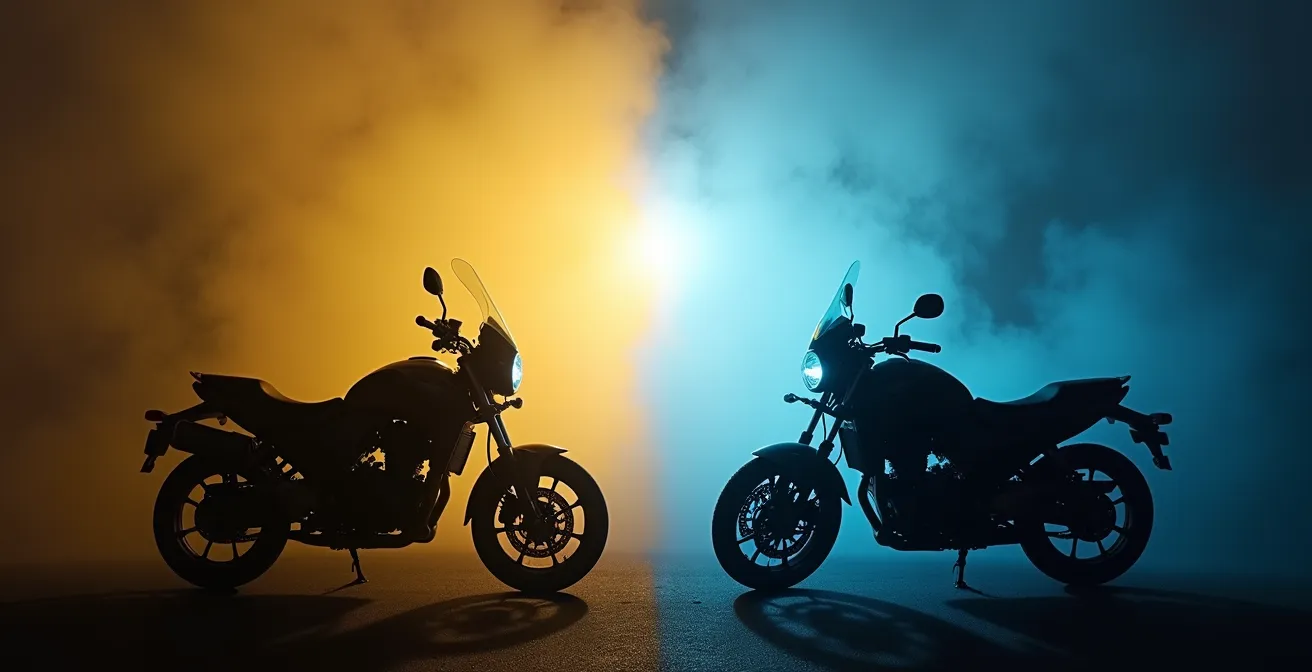
As the visual comparison shows, selective yellow light (typically in the 2700-3000K range) is largely devoid of these blue wavelengths. By filtering them out, a yellow fog light dramatically reduces the amount of backscatter and glare. While it does not physically penetrate the fog any better, it causes significantly less eye strain and improves the rider’s ability to discern shapes and contrast within the illuminated area. This makes selective yellow the superior choice for genuine low-visibility conditions like fog, mist, snow, and heavy rain, not because it pierces the weather, but because it is less blinding to the person who needs to see.
Rayleigh Scattering Effect in Motorcycle Lighting
Technical analysis shows yellow light (specifically ‘selective yellow’ at 2700-3000K wavelength) reduces glare from water droplets due to minimal blue wavelength content. This reduces Rayleigh scattering – the same phenomenon that makes the sky blue – which causes less eye strain for riders in fog and rain conditions. While yellow doesn’t physically ‘cut through’ fog better, it significantly improves perceived contrast and reduces backscatter glare to the rider’s eyes.
Therefore, the choice is strategic: white auxiliary lights are excellent for clear-weather visibility to make you more conspicuous to other drivers, while selective yellow lights are the correct functional tool for improving your own vision when conditions deteriorate.
Switched Power Sources: Where to Tap Into the Harness for DRLs?
Installing auxiliary lighting such as Daytime Running Lights (DRLs) or fog lights requires tapping into the motorcycle’s electrical system for a “switched” power source—one that is only active when the ignition is on. Performing this step incorrectly can lead to drained batteries, overloaded circuits, or even catastrophic damage to the bike’s Engine Control Unit (ECU) or CANbus system. A strict hierarchy of safe connection points must be observed.
The premier method is to use a dedicated accessory port if the manufacturer provides one. These circuits are designed and fused specifically for add-ons. The next best practice involves using an “add-a-circuit” or “fuse tap” in the motorcycle’s fuse box. This device allows you to create a new, fused circuit without cutting or splicing any factory wires, making it a safe and fully reversible process. Tapping a low-power wire, such as the one for the license plate light, is only acceptable for triggering a relay, never for directly powering the accessory itself.
A relay is a critical safety component. It acts as a heavy-duty switch, allowing a low-power circuit (like the tail light) to activate a high-power connection drawn directly from the battery. This protocol is non-negotiable for protecting the motorcycle’s stock wiring from overload, as noted by industry experts. As the Eagle Lights Technical Team states in their “Beginner’s Guide to Motorcycle LED Installation”:
Tapping a wire should only be for triggering a relay, not for powering the accessory. A relay draws high-amperage power directly from the battery, protecting the bike’s fragile stock wiring from overload.
– Eagle Lights Technical Team, Beginner’s Guide to Motorcycle LED Installation
Under no circumstances should an installer ever tap into ignition wires, ECU connections, or any CANbus data lines. These sensitive systems are not designed to handle additional electrical loads, and interference can result in costly and complex electronic failures. The principle is clear: use a relay to isolate the high-power needs of the accessory from the motorcycle’s delicate control circuits.
The safest hierarchy for sourcing switched power is as follows: first, a dedicated accessory port; second, a fuse tap with a relay; and third, a low-power wire used *only* as a trigger signal for a relay. Direct connection to any other wire is a violation of safe installation practice.
Integrated Tail Lights: Are They Legal and Visible Enough for Street Use?
Integrated tail lights, which combine the tail light, brake light, and turn signals into a single housing, are a popular aesthetic modification for achieving a “clean” rear-end look. However, their use on public roads is fraught with legal and safety complications. From a compliance standpoint, most aftermarket integrated units are not legal for street use unless they carry specific DOT (Department of Transportation) or ECE (Economic Commission for Europe) certification markings.
The primary legal issue is the mandated separation distance between turn signal indicators. Regulations are in place to ensure that a turn signal is unambiguous to following drivers. When the signals are housed within the brake light, their proximity can create confusion. For instance, current regulations mandate a minimum distance of 18cm between rear turn signals. Most integrated units fail to meet this standard. An officer can deem a vehicle with non-compliant lighting unsafe and issue a citation.
Beyond the legal text, there is a fundamental safety concern. A driver’s brain is conditioned to recognize three distinct lights at the rear of a vehicle. A single, multi-function light assembly can be less conspicuous and its signals less intuitive, particularly in bright daylight or when the brake is applied simultaneously with a turn signal. This can increase the risk of being misunderstood by other road users, negating any aesthetic benefit.
Action Plan: Integrated Tail Light Compliance Audit
- Points of Contact: Identify all functions consolidated into the unit: tail light, brake light, and left/right turn signals. Note the presence of a license plate illuminator.
- Data Collection: Methodically inventory the unit for official markings (e.g., DOT, CE11, CE12). Use a tape measure to record the physical distance between the geometric centers of the left and right turn signal indicators. Use a stopwatch to time 10 flashes and calculate the flashes-per-minute rate.
- Coherence Analysis: Compare the collected data against legal mandates. Does the flash rate fall within the required 60-120 flashes per minute? Does the signal separation meet or exceed the 18cm minimum for rear indicators?
- Visibility Assessment: In a controlled environment, have an observer stand at a distance and evaluate the unit’s performance. Is the turn signal clearly distinguishable from the brake light when both are active? Is the signal bright and conspicuous in direct sunlight?
- Integration Plan: Based on the audit, formulate a course of action. If fully compliant, no action is needed. If non-compliant, the plan must involve either replacing the unit with a certified alternative or supplementing it with additional, legally-spaced auxiliary turn signals to meet safety standards.
A pragmatic and safe approach for riders who desire the integrated look is a hybrid system: use the integrated unit for its tail and brake light functions but install separate, small, yet bright and legally spaced LED turn signals. This maintains a clean aesthetic while ensuring full legal compliance and unambiguous communication with other drivers.
Fan vs Heatsink: Which LED Bulb Design Lasts Longer in a Sealed Housing?
The longevity and performance of an LED headlight bulb are directly dependent on its ability to dissipate heat. An LED chip is a semiconductor that generates significant heat at its base, and failure to manage this thermal load leads to rapid lumen degradation and premature failure. In the confined space of a sealed motorcycle headlight housing, the choice of cooling technology—passive heatsink versus active fan—is a critical determinant of reliability.
Passively cooled bulbs rely on a heatsink, typically made of aluminum or copper, to draw heat away from the LED chip and radiate it into the surrounding air. Their primary advantage is reliability, as there are no moving parts to fail. However, their effectiveness is limited by the surface area of the heatsink and the ambient temperature inside the headlight bucket. High-power LEDs can quickly overwhelm a basic aluminum heatsink.
Actively cooled bulbs incorporate a miniature fan to force air over the heatsink, allowing for much more effective cooling and enabling the use of higher-power LED chips. The drawback is the fan itself, which is a mechanical point of failure susceptible to dust, moisture, and vibration—all of which are abundant on a motorcycle. The expected lifespan of the fan is often much shorter than that of the LED chip it is meant to cool. As stated by NAOEVO Engineering in their technical analysis,
An LED with poor cooling won’t just fail; it will automatically dim itself to survive. This thermal throttling means a bulb that looks bright initially can lose 30-50% of its output after 10 minutes of riding.
– NAOEVO Engineering, LED Car Light Heat Dissipation Analysis
The following table compares the most common cooling technologies. Notably, heat pipe technology, a passive system that uses a phase-change mechanism to transfer heat with extreme efficiency, offers the best of both worlds: superior thermal performance without the reliability concerns of a moving fan.
| Cooling Type | Thermal Performance | Longevity in Sealed Housing | Pros | Cons |
|---|---|---|---|---|
| Basic Aluminum Heatsink | 200-400 W/mK | 20,000 hours | No moving parts, silent | Limited power handling |
| Copper Core Heatsink | 400-480 W/mK | 30,000 hours | Better heat transfer, reliable | More expensive, heavier |
| Fan + Aluminum | Active cooling | 15,000 hours | Handles high power | Fan failure risk in dust/moisture |
| Heat Pipe Technology | 20,000 W/mK | 50,000+ hours | Best thermal performance | Most expensive option |
Therefore, for maximum longevity and consistent brightness in a sealed, high-vibration environment, a passively cooled bulb featuring advanced materials like a copper core or, ideally, heat pipe technology is the most robust engineering choice. A fan-cooled bulb may offer higher initial brightness but introduces a significant long-term reliability risk.
When to Use Your Horn: Alerting Drivers vs Startling Them?
A motorcycle’s horn is a critical safety device, but its effectiveness depends entirely on its appropriate and measured use. It is not simply an “anger button” but a communication tool with a specific protocol. Improper use can escalate a situation or startle a driver into an erratic maneuver, while correct use can de-escalate a potential threat by simply making another road user aware of your presence. A tiered approach to audible alerts is the mark of a skilled and defensive rider.
The first level of communication should be visual, not audible. A quick flash of the high-beam (“flash-to-pass”) is a polite, non-aggressive way to get the attention of a driver who may be about to merge into your lane. If a visual cue is insufficient or unnoticed, a light, quick “beep-beep” of the horn serves as a gentle notification. It communicates “I am here” without conveying aggression or panic. The long, continuous blast of the horn should be reserved exclusively for emergencies where a collision is imminent. It is a panic signal that shouts “Danger!” and should be treated as such.
Furthermore, the physical properties of the horn itself play a role in its effectiveness. Stock motorcycle horns are often high-pitched (600-800 Hz), a frequency that does not penetrate the sound-insulated cabins of modern cars well. Studies have shown that lower-pitched, dual-tone horns, similar to those found on cars (400-500 Hz), are significantly more effective at cutting through traffic noise and alerting distracted drivers. Upgrading to a more substantial horn is a valid safety enhancement, transforming the horn from a feeble notifier into an effective warning device.
Horn Frequency and Traffic Penetration Study
Testing by the NTSB has proven that low-pitched, dual-tone motorcycle horns (similar to car horns at 400-500 Hz) cut through traffic noise significantly better than high-pitched stock motorcycle horns (typically 600-800 Hz). The lower frequency travels further and penetrates vehicle cabins more effectively, increasing the likelihood of being heard by distracted drivers.
Ultimately, the goal of using the horn is to prevent an incident by creating awareness. Choosing the right level of alert for the situation—from a polite flash to an urgent blast—is a key component of defensive riding and responsible roadcraft.
Brake Light Switches: How to Verify Both Hand and Foot Levers Trigger the Light?
The brake light is arguably a motorcycle’s most important piece of conspicuity equipment. It is the primary signal communicating a rider’s intentions to following traffic. However, its effectiveness is entirely dependent on the correct adjustment of the switches that activate it. Every motorcycle has two such switches: one on the front brake lever and one on the rear brake pedal. It is a critical safety check to ensure that both are functioning and, more importantly, are adjusted for the earliest possible activation.
The light should not activate only when significant braking force is applied; it must illuminate with the slightest touch of either the hand lever or the foot pedal. This pre-activation provides the driver behind you with the maximum possible reaction time, often fractions of a second before you even begin to slow down. Verifying this is a simple procedure. With the ignition on, stand behind the bike or use a reflective surface like a garage door. Gently pull the front brake lever and push the rear brake pedal, observing the point at which the light triggers. It should be nearly instantaneous, well before the brakes begin to engage.
Adjusting these switches is typically straightforward. The front brake lever usually has a small mechanical microswitch with an adjustment screw located near the lever’s pivot point. The rear brake system may use either a mechanical switch with an adjustment nut or a hydraulic pressure switch. Fine-tuning involves making small adjustments and re-testing until the light activates at the very start of the lever’s or pedal’s travel. This simple, ten-minute check can significantly reduce the risk of a rear-end collision.
For riders looking to further enhance their rearward visibility, a logical next step is the installation of a brake light modulator. This electronic device, often plug-and-play, flashes the brake light 3-4 times upon initial activation before turning solid. This flashing pattern is exceptionally effective at capturing the attention of following drivers, adding another layer of safety to this critical circuit.
Key Takeaways
- A compliant headlight upgrade prioritizes beam pattern control over raw lumen output to avoid dangerous glare.
- An LED-compatible flasher relay is the correct engineering solution for hyperflash; resistors are a power-wasting workaround.
- Selective yellow fog lights reduce eye strain and improve contrast in poor weather by minimizing blue light backscatter.
- For a safe headlight upgrade in a reflector housing, replacing the optics with a projector retrofit is the only way to achieve a sharp, legal cutoff.
Retrofitting Projectors: How to Get a Razor-Sharp Cutoff Line on an Older Bike?
This brings us to the core thesis of this guide. The single greatest failure of “plug-and-play” LED bulbs in older, halogen-based reflector housings is their inability to replicate a legally compliant beam pattern. A reflector bowl is an analog computer, designed to gather light from a 360-degree spherical source (a filament) and focus it. An LED bulb, by contrast, typically has chips mounted on two flat sides. Placing this square peg in a round hole results in uncontrolled light scatter, massive foreground glare, and the blinding of oncoming traffic, all while failing to project light effectively down the road.
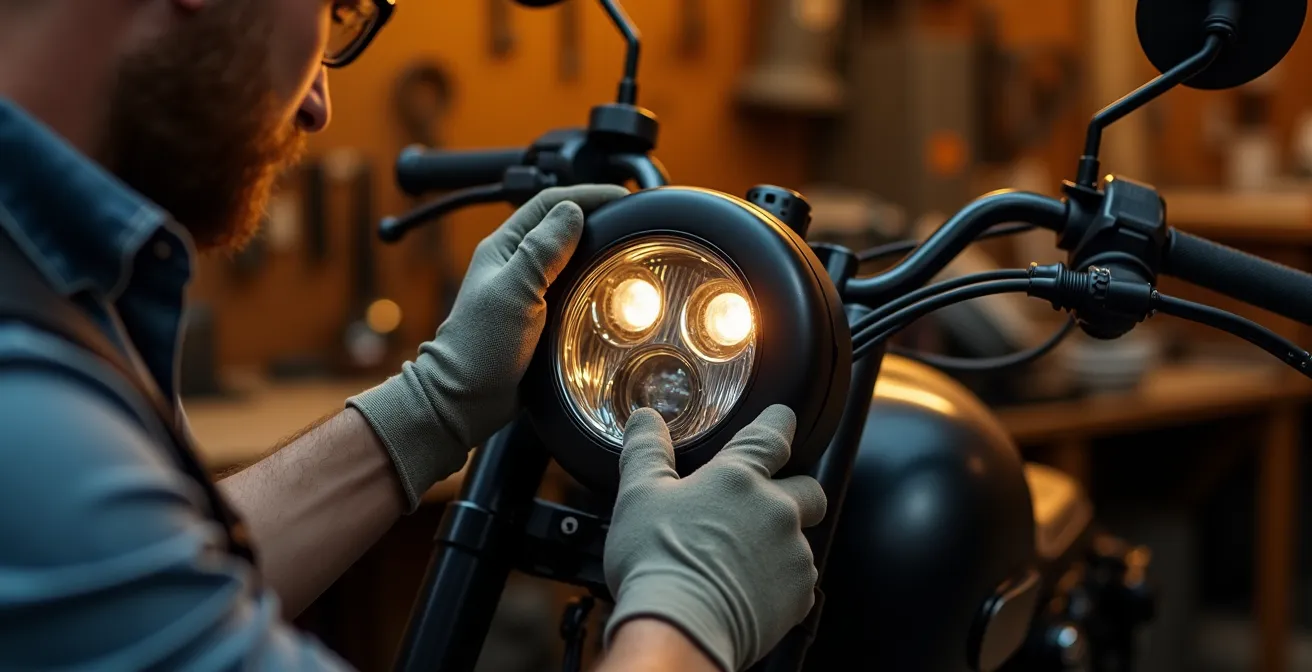
The only technically correct and legally compliant method to upgrade a halogen reflector headlight to a modern light source (either HID or LED) is to perform a projector retrofit. This procedure involves opening the headlight housing and replacing the entire legacy optical system—the reflector bowl—with a self-contained projector unit. A projector uses a lens, a dedicated internal reflector bowl designed for a point-source light, and a physical shield to create an intensely focused beam with a razor-sharp, horizontal cutoff line. This cutoff is the defining characteristic of a modern, compliant headlight. It allows for intense illumination of the road ahead while completely preventing light from spilling upwards into the eyes of other drivers.
Projectors come in two main types: Bi-Xenon (using an HID bulb) or Bi-LED (with an integrated LED source). Bi-LED projectors are increasingly the preferred choice due to their simpler wiring, instant-on high beam, and solid-state reliability. While a retrofit requires more labor than a simple bulb swap, the result is a night-and-day difference in both performance and safety.
| Feature | Bi-Xenon (HID) | Bi-LED |
|---|---|---|
| Wiring Complexity | Requires separate ballasts | Direct wire, no ballasts |
| High Beam Response | 1-2 second warm-up | Instant on/off |
| Physical Size | Larger, needs ballast space | Compact integrated unit |
| Reliability | Ballast failure risk | Solid-state, very reliable |
| Cost | $150-300 | $200-400 |
To ensure a fully compliant, safe, and exceptionally effective lighting upgrade for a vintage motorcycle, the focus must shift from the bulb to the optics. The logical and responsible next step is to research and invest in a quality bi-LED projector retrofit kit specifically designed to be adapted to your motorcycle’s headlight housing. This is the only path to achieving modern performance without compromising road safety.