The real cost of a motorcycle part isn’t the price tag; it’s the total investment in time, money, and fitment that follows.
- OEM parts guarantee fit and finish due to strict manufacturing standards, saving hours in labor.
- Aftermarket parts, especially fakes, introduce risks of catastrophic failure and hidden prep costs that negate initial savings.
Recommendation: Before buying cheap, calculate the Total Cost of Ownership (TCO) by factoring in potential prep work, additional hardware, and the value of your own time.
As a DIY mechanic, you’ve been there. You’re scrolling through eBay or an online marketplace, and you see it: an oil filter for your bike at a third of the dealer’s price. Or maybe it’s a full set of fairings for less than a single factory panel. The temptation is real. The common wisdom says OEM (Original Equipment Manufacturer) parts are a rip-off, and aftermarket is the smart, budget-friendly choice. You hear that you’re just paying for the brand name, and a part is a part.
From my desk in the parts department, I see the other side of that story every day. The truth is, the conversation shouldn’t be about price versus quality. It should be about initial cost versus Total Cost of Ownership (TCO). The few dollars you save on that cheap part can quickly evaporate when you factor in your own labor, the need for modifications, and the very real risk of premature failure. This isn’t about upselling you; it’s about protecting your bike and your investment.
But what if the original part is simply no longer made? What about modifications? The line between smart savings and a costly mistake can be blurry. This guide is designed to give you an insider’s framework for making that decision. We’ll explore the impact on your warranty, the dangers of counterfeits, how parts choices affect resale value, and the hidden costs of poor fitment. By the end, you’ll be able to look at that cheap online part and accurately calculate its true cost.
To help you navigate this complex decision, this article breaks down the key factors to consider. The following summary outlines the different aspects of the OEM versus aftermarket debate we’ll be exploring in detail.
Summary: A Comprehensive Guide to OEM vs. Aftermarket Parts
- Will Installing an Aftermarket Exhaust Void Your Factory Warranty?
- How to Spot Fake “Honda” Parts on eBay Before You Buy?
- Where to Find Factory Parts for Motorcycles Older Than 20 Years?
- Why Keeping Your Stock Parts Increases Your Bike’s Resale Value?
- Why Used OEM Fairings Fit Better Than New Chinese Aftermarket Kits?
- Spokes on a Sportbike: Does Retro Style Ruin Modern Performance?
- Sanding and Priming: Why 90% of the Paint Job Quality Is in the Prep Work?
- The T-CLOCS Inspection: How to Check Your Bike in 5 Minutes Before Every Ride?
Will Installing an Aftermarket Exhaust Void Your Factory Warranty?
This is one of the most common questions, and there’s a lot of misinformation out there. The short answer is no, simply installing an aftermarket exhaust (or any other part) will not automatically void your entire motorcycle warranty. Laws like the Magnuson-Moss Warranty Act in the U.S. prevent manufacturers from denying warranty coverage just because you used a non-OEM part. However, there’s a crucial catch: if that aftermarket part is proven to be the cause of a failure, the manufacturer has every right to deny the claim for that specific repair. That’s the risk you assume.
The reason manufacturers are so strict is because of the integrated nature of a modern motorcycle. Every component is designed to work as part of a system. The manufacturer has invested millions in research and development to ensure perfect compatibility and reliability. As one industry guide notes, this is a core principle of original parts.
The manufacturing process for OEM parts follows strict guidelines established by the original motorcycle manufacturer. These standards cover everything from material composition to dimensional tolerances in order to maintain consistency across all production batches.
– DNA Specialty, OEM vs. Aftermarket Motorcycle Parts Guide
When you install an aftermarket part, you are introducing an unknown variable into that system. If your new high-flow exhaust causes the engine to run lean and damage a piston, the repair won’t be covered. The dealer will have to prove the part caused the failure, but the burden of that risk falls on you. The “savings” on the part become insignificant compared to the cost of an engine rebuild. So, while your warranty isn’t “void,” your financial protection for related components is certainly compromised.
How to Spot Fake “Honda” Parts on eBay Before You Buy?
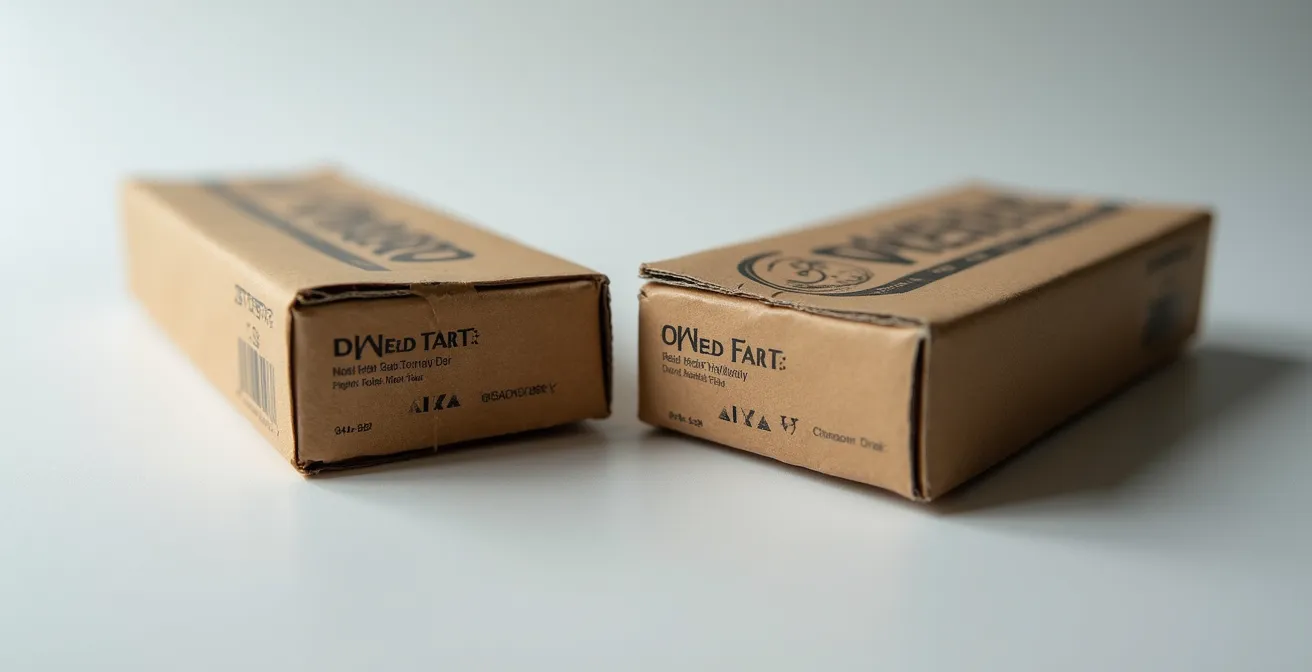
The world of aftermarket parts has a dark side: counterfeits. These aren’t just lower-quality alternatives; they are illegal, fraudulent products designed to deceive you. They often use stolen logos and packaging designs to look identical to genuine OEM parts, but their performance can be dangerously substandard. For a DIY mechanic on a budget, a part that looks genuine for a fraction of the price is the ultimate temptation, but it carries the highest risk.
Spotting a fake online can be difficult, but there are red flags. Look for prices that are “too good to be true,” sellers with generic names or poor feedback, and stock photos instead of pictures of the actual item. Once you have the part in hand, the differences become more apparent. Genuine packaging has crisp printing, high-quality cardboard, and often includes holographic seals or intricate security features. Counterfeits use cheaper materials, have blurry text, and often feature flimsy or poorly replicated seals.
The danger of these parts cannot be overstated. It’s not just a matter of poor fitment; it’s a critical safety issue. The Total Cost of Ownership for a counterfeit part can be catastrophic, turning a small saving into a massive expense, or worse. A documented case study highlights this exact scenario with a fake oil filter.
Case Study: The $3,000 Counterfeit Oil Filter
An analysis of part failures reveals multiple instances where counterfeit oil filters have collapsed internally, leading to complete oil starvation of the engine. In one case, a rider’s engine seized after the fake filter’s element disintegrated, sending metal and paper debris throughout the oil passages. The $15 saved on the filter resulted in a necessary engine rebuild costing over $3,000.
This example perfectly illustrates the TCO principle. The “price” was $15, but the “cost” was over $3,000. When buying from non-authorized sources, you are not just gambling with quality, but with the very life of your engine.
Where to Find Factory Parts for Motorcycles Older Than 20 Years?
The OEM vs. aftermarket debate changes significantly when you’re working on a vintage or older bike. Manufacturers typically guarantee parts availability for about 10 years after a model is discontinued. After that, finding genuine, factory-new parts—often called “New Old Stock” (NOS)—becomes a treasure hunt. This is one area where the aftermarket is not just an alternative, but often a necessity, as many aftermarket companies continue to produce components for popular classic models long after the OEM has stopped.
However, you still have options for sourcing quality parts that maintain the integrity of your classic machine. The key is knowing where to look and understanding the trade-offs between availability, cost, and quality. Your search will likely lead you down one of four main paths, each with its own pros and cons for the dedicated restorer.
This table breaks down the most common sources for vintage parts, giving you a clear picture of what to expect from each.
| Source Type | Availability | Cost Range | Quality Guarantee |
|---|---|---|---|
| Dealer NOS Stock | Very Limited | Premium (150-200% MSRP) | Factory New |
| Online NOS Specialists | Moderate | High (100-150% MSRP) | Factory New |
| Quality Reproductions | Good | Moderate (70-100% MSRP) | Variable |
| Used/Salvage | Excellent | Low (20-60% MSRP) | As-Is Condition |
For a true restoration, NOS parts are the gold standard, but they come at a premium. Quality reproduction parts from reputable aftermarket brands can be an excellent compromise, often offering near-OEM quality. Used or salvage parts are the most budget-friendly and widely available, but they require careful inspection and may need refurbishment. The best approach often involves a mix of these sources, prioritizing NOS or high-quality reproductions for critical components like engine internals and using good-condition used parts for cosmetic items.
Why Keeping Your Stock Parts Increases Your Bike’s Resale Value?
For many riders, part of the joy of ownership is personalization. A new exhaust, different handlebars, or a tail tidy kit can make a bike uniquely yours. While these modifications can enhance your riding experience, they can have a negative impact when it’s time to sell. A bike that has been heavily modified can be a red flag for potential buyers, who may worry about the quality of the work or the reliability of the non-standard components.
This is where holding onto your original stock parts becomes a powerful financial strategy. Providing the buyer with a box of the original, factory-installed components is a signal of meticulous ownership. It tells them that the modifications were likely done with care and, more importantly, are reversible. This simple act builds immense trust and directly translates to a higher resale value. As one dealership expert notes, originality is a key indicator of quality for a used-vehicle shopper.
Prospective buyers tend to favor vehicles that have been maintained using original manufacturer components since it reflects meticulous care and attention to quality.
– CrossRoad Powersports, Why Choose OEM Motorcycle Parts Guide
The financial benefit of this practice isn’t just theoretical; market data backs it up. Buyers are willing to pay a premium for the peace of mind and flexibility that comes with having the original parts. It removes the guesswork and risk from their purchase.
Case Study: Resale Value of Modified vs. Stock Motorcycles
A market analysis shows that a motorcycle offered with its original OEM parts included alongside its modifications consistently fetches a higher price. These bikes not only command prices that are 10-15% higher, but they also tend to sell 15-20% faster than similarly modified bikes without the stock components. Buyers value the option to return the bike to its factory state, viewing it as a major bonus that reduces their risk.
Think of your OEM parts as an insurance policy for your bike’s value. The initial “cost” of using OEM parts for maintenance, or simply storing the ones you replace, pays you back when you sell. This long-term return on investment is a critical component of a part’s Total Cost of Ownership.
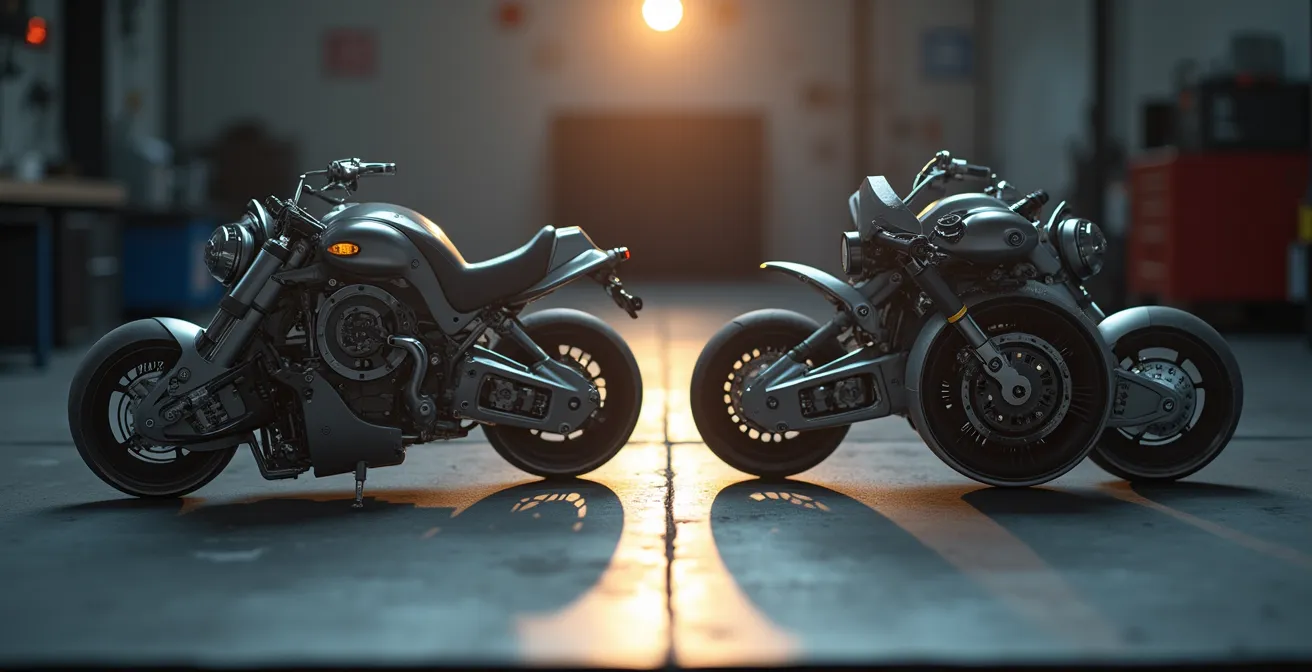
Why Used OEM Fairings Fit Better Than New Chinese Aftermarket Kits?
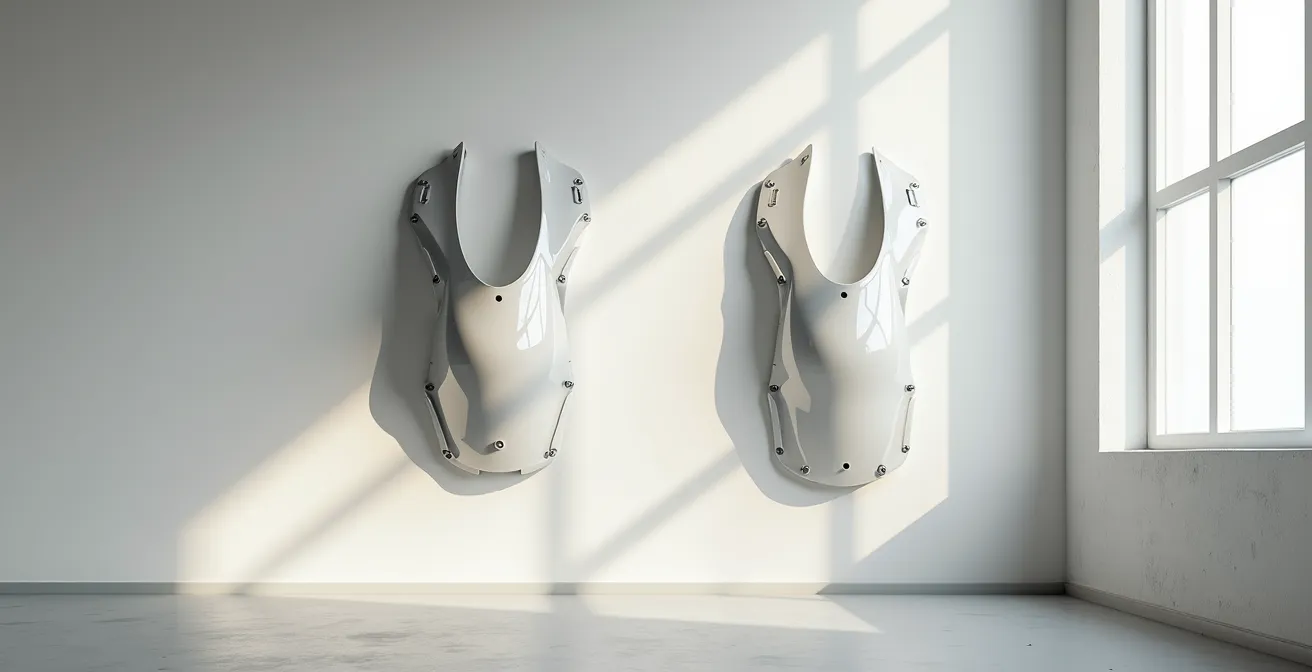
Nowhere is the Total Cost of Ownership more obvious than with bodywork. You drop your bike, crack a fairing, and see a complete unpainted aftermarket kit from China for less than one pre-painted factory panel. It seems like a no-brainer. But as anyone who has gone down this road can tell you, the initial price is just the beginning of your investment. The primary difference lies in the manufacturing process: OEM fairings are injection-molded, while most cheap aftermarket kits are compression-molded.
Injection molding uses high pressure to force molten plastic into a precision-engineered mold, resulting in a part with uniform thickness, perfect contours, and mounting points that are accurate to the sub-millimeter. Compression molding, on the other hand, involves pressing a sheet of heated plastic into a rougher mold, leading to warping, inconsistent thickness, and mounting holes that rarely line up. The visual difference in quality, even from afar, is often stark.
This is where your “savings” begin to disappear. To make an aftermarket kit fit, you’ll spend hours drilling, filing, and sometimes using a heat gun to bend panels into shape. Even then, the panel gaps will likely be uneven. This extra labor is what I call the “Prep Work Penalty.” A used, scuffed-up OEM fairing that bolts on in 15 minutes is often a far better starting point than a “new” aftermarket kit that requires a full day of wrestling. A detailed cost breakdown shows that the “cheaper” option is often more expensive once all factors are considered.
This comparison from Partzilla illustrates how hidden costs can quickly erase any initial savings on aftermarket bodywork.
| Cost Factor | Used OEM Fairing | New Aftermarket Kit |
|---|---|---|
| Initial Purchase | $200-400 | $150-250 |
| Fitment Work Required | 0-1 hours | 3-6 hours |
| Paint/Prep if Needed | $100-200 | $200-400 |
| Additional Hardware | $0 | $20-50 |
| Total Investment | $300-600 | $370-700 |
As the table shows, once you factor in the value of your own time and the additional work required, a good-condition used OEM part is often the more economical and satisfying choice. It aligns with the core principle: pay for engineering up front, not with your own labor later.
Spokes on a Sportbike: Does Retro Style Ruin Modern Performance?
The trend of putting spoked wheels on modern sportbikes or nakeds is growing, driven by a desire for a retro, custom aesthetic. While they undeniably look cool, it’s crucial to understand the performance trade-offs. This isn’t just an OEM vs. aftermarket issue, but a fundamental choice between two different technologies: cast alloy wheels and traditional wire-spoked wheels. From a performance standpoint, the factory-equipped cast wheels are almost always superior for street and track riding.
The primary drawback of spoked wheels is weight, specifically unsprung weight. This refers to the mass of all components not supported by the suspension (wheels, tires, brakes). Reducing unsprung weight is one of the most effective ways to improve a motorcycle’s handling, acceleration, and braking. Lighter wheels allow the suspension to react more quickly to bumps, keeping the tire in better contact with the road. According to performance analyses, the difference is significant, as spoked wheels typically add 15-25% more unsprung weight compared to their cast counterparts.
Beyond the weight penalty, spoked wheels introduce a significant “cost” in terms of maintenance. Cast wheels are essentially maintenance-free, whereas spoked wheels require regular attention to maintain their integrity and performance. This time and effort is a key part of their Total Cost of Ownership.
- Tension Checks: Spokes must be checked for uniform tension periodically with a spoke wrench. Loose spokes can lead to a wobbly, untrue wheel.
- Truing: Over time and through impacts, a spoked wheel can go out of “true” (meaning it no longer spins perfectly straight). This requires a specialized wheel truing stand to correct.
- Cleaning: Cleaning 40-80 individual spokes and nipples is far more time-consuming than wiping down a cast wheel.
- Tube-Type Tires: Most traditional spoked wheels require inner tubes, which adds another point of potential failure and makes puncture repairs more complex than with a tubeless cast wheel.
Choosing spoked wheels is a valid aesthetic decision, but it’s not one to be made lightly. You are trading measurable performance and low-maintenance convenience for a specific look. For a high-performance machine, you are actively degrading its handling capabilities.
Sanding and Priming: Why 90% of the Paint Job Quality Is in the Prep Work?
A fresh paint job can bring a bike back to life, but the final glossy finish is only as good as the surface underneath it. This is especially true when working with aftermarket body panels. While an OEM panel typically arrives perfectly smooth and ready for a light scuff and paint, an aftermarket part is where the “Prep Work Penalty” hits hardest. The vast majority of the time and effort in a paint job—up to 90% of the total labor—is spent on preparation, not on the actual spraying.
The inferior quality of compression-molded aftermarket parts means they come with a host of surface imperfections that must be corrected before a single drop of paint is applied. These include deep mold lines, surface ripples, pinholes, and a waxy mold-release agent that must be thoroughly removed. Skipping any of these prep steps will result in a paint job that fails, with issues like poor adhesion, cracking, and “fisheyes” appearing in the clear coat.
Professional paint shops know this well, and their pricing reflects it. The cost to paint an aftermarket kit is significantly higher than for OEM parts precisely because of this extra labor. This added cost often completely negates the initial savings.
Case Study: The Hidden Cost of Painting Aftermarket Fairings
According to professional painters, preparing a typical aftermarket fairing kit for paint adds 4-6 hours of labor compared to working with OEM parts. This extra time is spent meticulously sanding down mold lines, filling low spots with body filler, and applying multiple coats of high-build primer to achieve a smooth foundation. This additional prep work typically adds $300-$500 to the final bill, turning a “cheap” fairing kit into a premium-priced project.
For a DIY mechanic, this translates directly into your own time and materials. The table below breaks down the stark difference in prep time required, illustrating the hidden “cost” of choosing aftermarket bodywork.
| Prep Stage | OEM Part | Aftermarket Part |
|---|---|---|
| Mold Line Removal | Minor (5-10 min) | Extensive (30-60 min) |
| Surface Filling | Rarely needed | Common (1-2 hours) |
| Primer Coats Required | 1-2 coats | 2-3 coats |
| Adhesion Promoter | Optional | Essential |
| Total Prep Time | 1-2 hours | 4-6 hours |
This is the Total Cost of Ownership in its clearest form. You can pay for quality engineering with an OEM part, or you can pay with your own time and effort to fix the deficiencies of a cheaper alternative.
Key Takeaways
- The true measure of a part’s cost is its Total Cost of Ownership (TCO), not its initial price tag.
- OEM parts mitigate risk by guaranteeing fit, finish, and compatibility, which protects you from costly failures and wasted labor.
- Keeping original stock parts is a direct investment in your motorcycle’s resale value, often returning more than the initial cost difference.
The T-CLOCS Inspection: How to Check Your Bike in 5 Minutes Before Every Ride?
Whether you use OEM or aftermarket parts, the single most important habit for any rider is the pre-ride inspection. The Motorcycle Safety Foundation’s T-CLOCS checklist is a simple, systematic way to ensure your bike is safe before you head out. It’s a 5-minute investment that can save you from a catastrophic failure. When you’ve introduced aftermarket components into your bike’s system, this check becomes even more critical, as you are now the final quality control inspector.
T-CLOCS is an acronym that stands for Tires and Wheels, Controls, Lights and Electrics, Oil and Fluids, Chassis, and Stands. Walking through this checklist forces you to pay attention to the critical systems on your bike. For a mechanic who has installed aftermarket parts, this checklist should be adapted to pay special attention to those non-standard components, verifying their fit, function, and integrity every time you ride.
This is because aftermarket parts exist outside the manufacturer’s integrated testing ecosystem. As the RevZilla team points out, compatibility across the endless combination of aftermarket parts is never guaranteed.
Because of the wide variety of aftermarket parts that exist, it’s nearly impossible to test Replacement Part A with all of the myriads of combinations of parts a rider may elect to install. Parts manufacturers usually design their parts for use with OEM machines.
– RevZilla Editorial Team, Motorcycle Parts 101: How to Buy Them
By using an adapted T-CLOCS check, you take on the responsibility of ensuring that your unique combination of parts is working together safely. It’s your personal risk mitigation strategy.
Action Plan: Your T-CLOCS Pre-Ride Check with Aftermarket Focus
- T – Tires & Wheels: Check air pressure. If you have aftermarket wheels, quickly inspect them for spoke tension (if applicable) and any signs of damage.
- C – Controls: Test aftermarket levers and pedals. Ensure they move freely without binding and that clutch/brake engagement points feel correct.
- L – Lights & Electrics: Verify all lights work. If you have an aftermarket LED or integrated tail light, check that its brightness is adequate and it doesn’t cause “hyper-flashing”.
- O – Oil & Fluids: Check levels. If using an aftermarket oil filter or coolant hoses, give them a quick visual check for proper seating and any signs of leaks.
- C – Chassis & Suspension: Look over the frame. If you have aftermarket suspension, inspect for leaks around the seals. Check that any aftermarket frame sliders or engine guards are secure.
- S – Stands: Ensure both the side stand and center stand (if equipped) retract properly and have good spring tension, especially if they are non-OEM units.
Making this a non-negotiable part of your riding routine is the smartest thing you can do to manage the inherent risks of a modified motorcycle and ensure every ride is a safe one.
Ultimately, the choice between OEM and aftermarket is a personal calculation. Evaluate your next parts purchase not just by its price, but by its Total Cost of Ownership. By considering your time, the potential for extra work, and the long-term impact on value and safety, you can make a truly informed decision that protects both your investment and your ride.