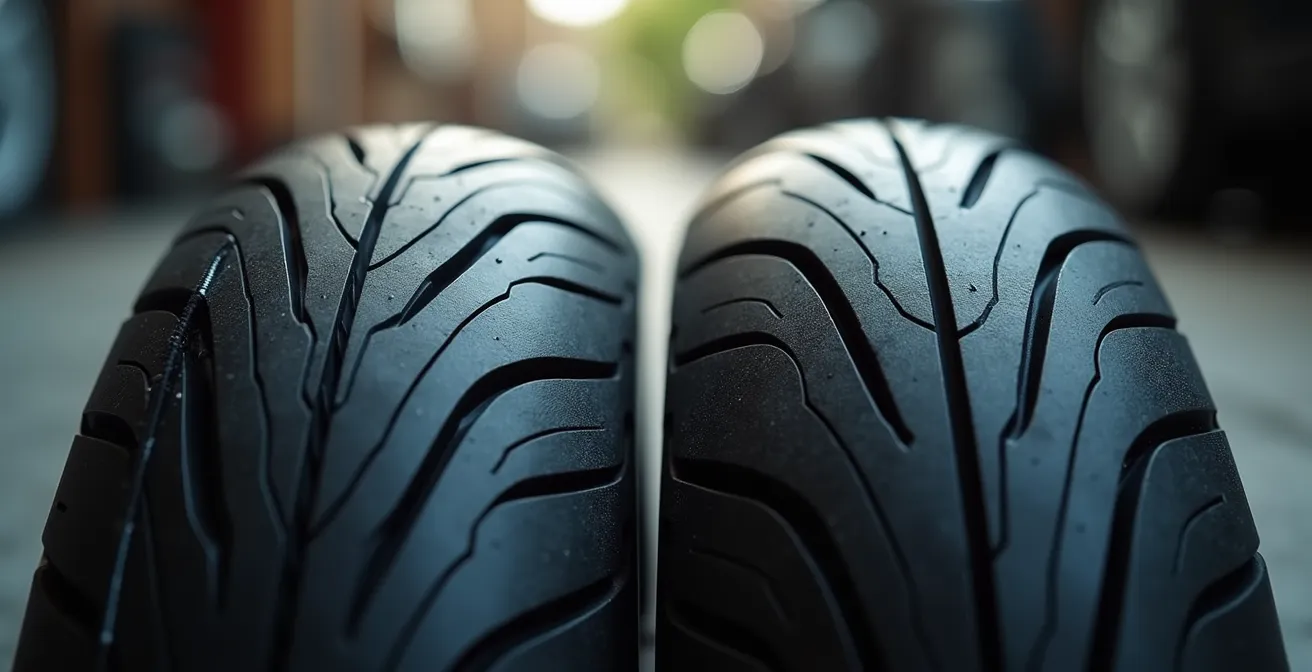
The sticker price of a hypersport tire is just the beginning; its true cost is measured in heat cycles and chemical age, not just miles on the road.
- Heat cycles, not tread wear, chemically degrade a race-compound tire’s grip, often rendering it useless in as few as 2-3 sessions.
- A tire’s age and storage conditions can make it dangerously brittle and unsafe, regardless of how much tread appears to be left.
Recommendation: Calculate your true cost per mile and inspect for age-related decay to make an informed choice between ultimate grip and practical longevity.
For any aggressive canyon rider, it’s a frustratingly familiar cycle: you shell out for a premium set of soft-compound hypersport tires, enjoy a few thousand miles of phenomenal grip, and then find yourself back at the shop, staring at another hefty bill. The common wisdom says this is simply “the cost of grip.” You get performance, you sacrifice mileage. While true on the surface, this explanation misses the bigger picture that professional testers and veteran track riders understand intimately.
The real story of a soft tire’s life isn’t written in odometer clicks. It’s a tale of chemistry, physics, and environmental exposure. Factors like heat cycles, storage temperatures, and the tire’s manufacturing date have a far greater impact on its performance and safety than the visible depth of its tread. Believing that a tire is “good” simply because it isn’t bald is a common and potentially dangerous misconception. The phenomenal grip you pay for is a perishable good, and its lifespan is governed by forces you can’t see.
This analysis moves beyond the simple sport vs. hypersport debate. We will delve into the hard data and physical principles that dictate a soft compound’s true usable life. We’ll explore why a tire with plenty of tread can feel “greasy,” how winter storage can permanently ruin a tire, and why your budget should be calculated in “cost per mile,” not just purchase price. By understanding these hidden factors, you can move from being a frustrated consumer to an informed rider who manages tire performance and cost with expert precision.
This guide breaks down the critical factors that determine a soft compound tire’s true lifespan and cost. By examining the data, you can make smarter decisions that balance your budget with your performance needs.
Summary: Sport vs. Hypersport Tires: How Many Miles Can You Really Expect From a Soft Compound?
- Why Do Track Tires Lose Grip Even If They Still Have Tread?
- The Glass Transition: Why Soft Tires Can Crack in Freezing Storage?
- DOT Race Tires in the Rain: Where Is the Limit of Hydroplaning?
- The Cost of Grip: How to Budget for 3 Tire Changes a Season?
- The Release Agent Myth: Do You Really Need to Ride 100 Miles Gently?
- Hypersport vs Sport-Touring Tires: Which Suits a Superbike Ridden Daily?
- Dry Rot Cracks: Why a Tire with Great Tread Can Still Blow Out?
- The Penny Test is Obsolete: How to Measure Tread Depth Like a Pro?
Why Do Track Tires Lose Grip Even If They Still Have Tread?
The most confusing experience for a rider is when a once-grippy tire starts to feel vague and slippery, even with ample tread remaining. The culprit isn’t wear; it’s chemistry. Soft compound and DOT race tires are engineered with volatile chemicals that provide incredible adhesion when heated. However, this process, known as a heat cycle (one full warm-up and cool-down), is not infinitely repeatable. Each cycle causes some of these grip-enhancing chemicals to “outgas” or evaporate from the rubber. After a certain point, the chemical balance of the compound is permanently altered, and the tire can no longer generate its designed level of grip, regardless of tread depth.
This phenomenon is why professional race teams discard tires that look brand new. The data shows that for maximum performance, race compound tires typically last only two or three heat cycles before their competitive edge is gone. For a canyon carver or track day enthusiast, this means the tire’s peak performance life is measured in days of hard riding, not thousands of miles. The tire becomes “hardened” or “vulcanized” by the repeated heat, losing its pliability and ability to key into the road surface.
As the experts at CanyonChasers note, the tire fundamentally changes after only a few uses:
The race tire is designed for the racetrack… They are designed to be used two or three times before they are discarded… two or three heat cycles and two or three periods of outgassing before the chemical balance of the tire has changed so much that it is no longer the same tire.
– CanyonChasers Technical Team, CanyonChasers Motorcycle Tire Guide
So, while the tire might still be legally usable for commuting, its ability to provide the confidence-inspiring grip you paid for has evaporated. This invisible degradation is the primary reason why aggressive riders find their tire performance falling off a cliff long before the wear bars appear.
The Glass Transition: Why Soft Tires Can Crack in Freezing Storage?
While heat cycles degrade a tire during use, cold temperatures can ruin it during storage. High-performance tires, with their soft compounds rich in silica, are particularly vulnerable to a process called glass transition. This is the temperature at which the rubber polymers change from a flexible, pliable state to a rigid, brittle, glass-like state. For many hypersport tires, this transition can begin at temperatures near or just below freezing (32°F / 0°C).
If a tire is stored in these conditions and is then flexed, moved, or even has the weight of the motorcycle on it, microscopic cracks can form within the rubber compound and carcass. These cracks may not be visible to the naked eye initially, but they represent permanent structural damage. When the tire warms up and is put back into service, these micro-cracks can grow rapidly under the stress of riding, leading to a catastrophic failure.
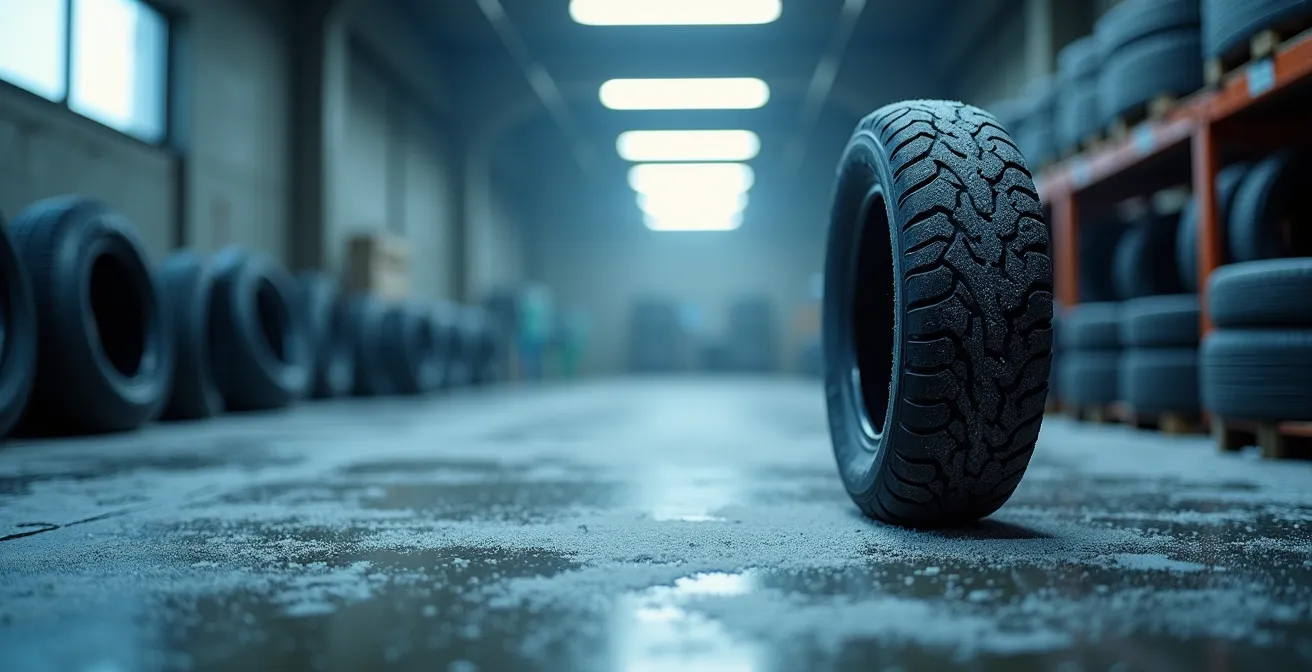
As the illustration above suggests, the environment in which you store your bike or spare tires matters immensely. A cold garage or shed during winter can be a death sentence for an expensive set of soft-compound rubber. The best practice is to store unmounted tires in a climate-controlled environment, above 40°F (5°C), lying on their side and away from sources of ozone like electric motors or furnaces. If the bike must be stored in the cold, using stands to get the weight off the tires is critical to prevent flat-spotting and stress-induced cracking.
Ignoring these storage principles means you could be starting your spring riding season on a set of tires that are, for all intents and purposes, structurally compromised and unsafe, no matter how much tread they have left.
DOT Race Tires in the Rain: Where Is the Limit of Hydroplaning?
The trade-off for the massive dry grip of a hypersport or DOT race tire is its dramatically reduced performance in wet conditions. The key factor here is the tire’s void ratio—the percentage of the tread pattern made up of grooves. These grooves are essential for channeling water away from the contact patch. If the tire cannot evacuate water faster than it encounters it, a layer of water builds up between the rubber and the road, causing the bike to hydroplane. The tire is, quite literally, waterskiing.
The difference in design philosophy is stark when you compare the data. A sport-touring tire is designed for all-weather confidence, while a hypersport tire is optimized for one thing: dry grip. The numbers don’t lie. A recent tire test found that in wet conditions, the best sport-touring tire outpaced the slowest hypersport tire by over 11 seconds per lap. This is a colossal safety and performance margin that highlights the danger of using dry-focused rubber in the rain.
The table below clearly illustrates how the void ratio directly impacts a tire’s ability to handle water.
| Tire Type | Void Ratio | Water Channeling Capability | Wet Performance |
|---|---|---|---|
| DOT Race Tire | 5-7% | Minimal | Poor |
| Hypersport | 10-15% | Limited | Moderate |
| Sport-Touring | 25-30% | Excellent | Very Good |
For a rider on the street, this means a sudden downpour can quickly exceed the hydroplaning threshold of a soft-compound tire. While a sport-touring tire provides a large safety margin, a hypersport tire requires immediate and significant reductions in speed and lean angle to remain safe. Pushing the limits on a DOT race tire in the rain is simply inviting disaster.
The Cost of Grip: How to Budget for 3 Tire Changes a Season?
The “cost of grip” is not just a saying; it’s a real budgetary item that aggressive riders must plan for. A hypersport rear tire that lasts only 2,000 miles is not an anomaly—it’s the norm for spirited riding. When you factor in the cost of the tire, mounting, and balancing, the numbers add up quickly. Data from retailers shows that hypersport tire owners can expect to pay around $175 or more for a rear tire, not including labor. For a rider covering 6,000 miles in a season, this translates to three rear tire changes.
To move beyond sticker shock and make a truly informed decision, you must calculate your true cost per mile. This metric provides an objective way to compare the value proposition of a short-lived hypersport tire versus a longer-lasting sport-touring option. It forces you to look at the total ownership cost, not just the upfront purchase price. Planning a tire budget becomes a predictable part of your seasonal maintenance rather than an unpleasant surprise.

Calculating this figure requires diligent tracking but provides invaluable insight into where your money is actually going. By understanding your personal cost per mile, you can decide if the extra tenths of a second of theoretical grip are worth the tangible dollars and cents.
Your Action Plan: Calculate Your True Tire Cost Per Mile
- Track Total Purchase Price: Log the exact cost of the tire itself, plus any fees for mounting, balancing, and new valve stems.
- Record Installation Mileage: Write down the precise odometer reading at the moment the new tire is installed.
- Log Removal Mileage: When the tire is worn out, record the final odometer reading. The difference is your total mileage.
- Factor in Disposal Fees: Include any environmental or disposal fees charged by your shop in the total cost.
- Calculate Cost Per Mile: Divide the total cost (Step 1 + Step 4) by the total miles ridden (Step 3) to get your final, true cost per mile.
The Release Agent Myth: Do You Really Need to Ride 100 Miles Gently?
One of the most persistent myths in motorcycling is the need for a long, gentle “scrub-in” period for new tires, often quoted as 100 miles. The belief is that tires are coated in a slippery mold release agent that must be worn off. While this may have been true decades ago, modern tire manufacturing has made this idea obsolete. Today’s molds are incredibly sophisticated and non-stick, virtually eliminating the need for such release agents. What feels “slippery” on a new tire is simply its perfectly smooth, un-scuffed surface.
The real goal of a break-in period is not to scrub off a chemical, but to methodically scuff the tire’s surface from edge to edge and to put it through its first gentle heat cycle. This process prepares the surface for aggressive use and allows you, the rider, to get accustomed to the new tire’s profile and handling characteristics. A professional break-in doesn’t take 100 miles of timid riding; it can be accomplished in about 20 minutes in a safe, controlled environment like an empty parking lot.
The goal is a systematic approach to introducing load and lean angle to the new rubber. Here is a proven, efficient procedure used by professional testers:
- Find a large, empty parking lot away from traffic and debris.
- Perform a series of 10 gentle figure-eights, progressively increasing your lean angle from very slight (15°) to moderate (35°). This evenly scuffs the tire from shoulder to shoulder.
- Complete 5-6 moderate, straight-line acceleration runs (e.g., 0-40 mph) to put the first heat into the center of the tire.
- Execute 5-6 progressive, non-emergency braking applications from about 40 mph to a stop. This beds in the tire surfaces under braking load.
After this short, focused procedure, your tires are fully prepared for normal road use. You’ve saved time, and more importantly, you’ve used a structured method rather than relying on an outdated myth.
Hypersport vs Sport-Touring Tires: Which Suits a Superbike Ridden Daily?
For a superbike owner who rides daily, the choice between hypersport and sport-touring tires is a critical decision that pits ultimate performance against real-world practicality. While it may seem like a betrayal to put “touring” tires on a top-tier performance machine, modern sport-touring rubber has evolved dramatically. They now offer a level of grip and performance that exceeds what was available on top-of-the-line sport tires just a decade ago, while delivering vastly superior mileage.
The decision comes down to an honest assessment of your typical riding. Do you spend 95% of your time commuting and on weekend street rides, with only occasional aggressive canyon runs? If so, a hypersport tire is in its non-optimal temperature range for most of its life, providing no real grip advantage while wearing out at an accelerated rate. Its stiff carcass, designed for track-level forces, can also provide a harsher ride on imperfect public roads.
The mileage data makes the practical choice clear. While a hypersport rear might be done in 2,000-3,000 miles, an analysis of owner data shows that modern sport-touring tires can last between 6,000 and 10,000 miles or more under similar use. For a daily rider, this means one set of sport-touring tires for the season versus two or three sets of hypersports. The cost savings are substantial, and for street-legal speeds and conditions, the available grip from a premium sport-touring tire is more than sufficient. You gain longevity, improved wet grip, and a more comfortable ride with a negligible sacrifice in performance for daily use.
The only scenario where hypersport tires make sense for a daily-ridden superbike is if the “daily ride” includes frequent track days, or if the rider’s skill level is high enough to consistently push the bike to the absolute limits of adhesion on public roads—a risky proposition at best.
Dry Rot Cracks: Why a Tire with Great Tread Can Still Blow Out?
Perhaps the most insidious threat to tire safety is age. A tire can have deep, perfect-looking tread and still be a blowout waiting to happen due to dry rot. This isn’t a “rot” in the organic sense, but rather the chemical breakdown of the rubber compounds over time. Exposure to oxygen, UV light from the sun, and ground-level ozone causes the rubber to lose its essential oils and plasticizers. The tire becomes hard, brittle, and loses its elasticity.
The visible signs are tiny cracks, often appearing first in the sidewall or at the base of the tread blocks. These cracks are not merely cosmetic; they are indicators of deep, structural degradation. A tire in this condition has lost its ability to flex and absorb impacts. A sharp pothole or sudden heavy load can cause these cracks to propagate instantly through the tire’s carcass, resulting in a catastrophic failure. This is why a five-year-old tire that has been sitting on a bike in a garage can be more dangerous than a one-year-old tire with significant tread wear.
Because of this unavoidable aging process, a consensus has formed among manufacturers and safety experts. Research confirms that safety experts recommend replacing tires after a maximum of 5 years from their manufacturing date, regardless of how much tread is left. The manufacturing date is stamped on the tire’s sidewall as a four-digit DOT code (e.g., “3422” means the tire was made in the 34th week of 2022).
Case Study: Age vs. Wear
Analysis of tire failures consistently shows that time is as much an enemy as mileage. For motorcycles that are stored for long periods or ridden infrequently, the environmental exposure to UV and ozone accelerates the aging process. Studies confirm that knowing how old your tires are, or how many heat cycles they’ve endured, may be a more significant indication of their condition than how much tread remains. A tire’s birthdate is often its most important vital statistic.
Checking the DOT date code should be as routine as checking your tire pressure. No amount of tread can compensate for the invisible brittleness of an old tire.
Key Takeaways
- A tire’s true lifespan is determined by heat cycles and chemical age, not just visible tread depth.
- The real cost of a tire should be measured in “cost per mile,” factoring in all expenses.
- Tire safety relies on inspecting for age (dry rot) and storage damage, not just tread wear.
The Penny Test is Obsolete: How to Measure Tread Depth Like a Pro?
The “penny test” has long been a rule of thumb for checking car tires, but it’s an imprecise and obsolete method for modern motorcycle tires. Not only are the performance demands different, but the legal standards are also stricter. While many jurisdictions have varying laws, a widely accepted standard is that the legal minimum for motorcycle tires is 1mm of tread depth, and many recommend replacement at 2mm for a reasonable safety margin, especially in wet conditions. Relying on a penny provides a vague estimate at best.
A professional approach requires a dedicated tread depth gauge, an inexpensive tool that provides a precise measurement. More importantly, a pro doesn’t just take one measurement. They create a “wear pattern map” to understand how the tire is wearing, which can also diagnose issues with tire pressure or suspension setup. Uneven wear is a critical piece of data. For example, a tire that is heavily worn in the center but has deep tread on the sides indicates chronic over-inflation or excessive highway miles. Conversely, wear on both shoulders points to under-inflation.
To measure your tires like a professional, follow this systematic technique:
- Take three measurements across the width: Use your gauge to measure the depth in the center groove, the left-side groove, and the right-side groove.
- Repeat around the circumference: Take these three measurements at 3 or 4 different points around the tire (e.g., at the 12, 3, 6, and 9 o’clock positions).
- Use the wear bar as a guide: Always measure to the top of the small, raised “wear indicator bars” located inside the main grooves, not to the absolute bottom of the groove.
- Record and analyze: Note all measurements. The lowest number you find is your official tread depth. Any significant variations across your map point to potential issues.
- Check the leading edge for hard riders: On the shoulder sipes, feel the leading edge of the groove. If it feels rounded or “ramped,” the tire has been subjected to heavy cornering forces and has likely lost its peak lean-angle grip.
This methodical approach gives you hard data, not just a guess. It tells you not only *when* to replace your tire, but also provides insight into your bike’s setup and your riding style.
Now that you understand the complex factors governing tire life, from heat cycles to chemical aging, the next logical step is to apply this knowledge. Start by calculating your own cost per mile and inspecting your current tires for their manufacturing date to make data-driven decisions about your next purchase.