In summary:
- Success isn’t about one “magic” method, but understanding the material science behind when to use wet vs. dry application.
- Proper surface preparation and cleaning are non-negotiable and account for 90% of a professional-looking result.
- The wet method offers repositioning for large decals, while the dry method is mandatory for specialty materials like reflective tape.
- Heat is a powerful tool for conforming to curves but can easily damage the vinyl if not used with constant motion and low settings.
- Protecting your investment starts before application: use high-quality, UV-laminated vinyl and ensure your artwork is in the correct vector format.
That expensive, custom-printed race livery kit has finally arrived. You can already picture it: the aggressive lines, the vibrant colors transforming your bike’s identity. But then, a wave of anxiety hits. The internet is filled with horror stories of bubbles, crooked lines, and ruined decals. You’ve got one shot to get this right. The common advice is to just spray everything with soapy water, but is that really the professional’s secret? What if that single piece of advice is a gross oversimplification that could ruin your specific type of vinyl?
The truth is, a flawless finish isn’t about blindly following one rule. It’s about understanding the material science at play. It’s about knowing why a wet application is perfect for a large fairing piece but disastrous for reflective tape. The real secret pros use isn’t a single technique, but a decision-making process based on the decal’s material, the complexity of the surface, and the desired outcome. This isn’t just about avoiding bubbles; it’s about achieving a bond that looks painted on and lasts for years.
This guide demystifies the process by giving you the trade secrets. We’ll move beyond the generic advice to explore why preparation is everything, how to choose the right file format for your dream design, and how to make informed choices that protect your bike’s paint and its resale value. By the end, you’ll have the confidence to apply any decal like a seasoned professional, armed with knowledge, not just a spray bottle.
To navigate this complex topic, we’ve structured this guide to take you from initial preparation to long-term value considerations. Explore the sections below to master every aspect of motorcycle customization.
Summary: Wet vs Dry Application: How to Install Vinyl Decals Without Bubbles?
- How to Remove 10-Year-Old Decals Without Damaging the Paint Underneath?
- Vector vs Raster: What File Format Does Your Print Shop Need for Custom Decals?
- Black Reflective Tape: How to Be Visible at Night Without Ruining Your Day Look?
- Why Do Your Red Decals Turn Pink and How to Prevent It?
- How to Align Tank Pads Perfectly for Both Knee Grip and Symmetry?
- Sanding and Priming: Why 90% of the Paint Job Quality Is in the Prep Work?
- Why Used OEM Fairings Fit Better Than New Chinese Aftermarket Kits?
- Wrap vs Paint: Which Customization Method Holds Better Value for Resale?
How to Remove 10-Year-Old Decals Without Damaging the Paint Underneath?
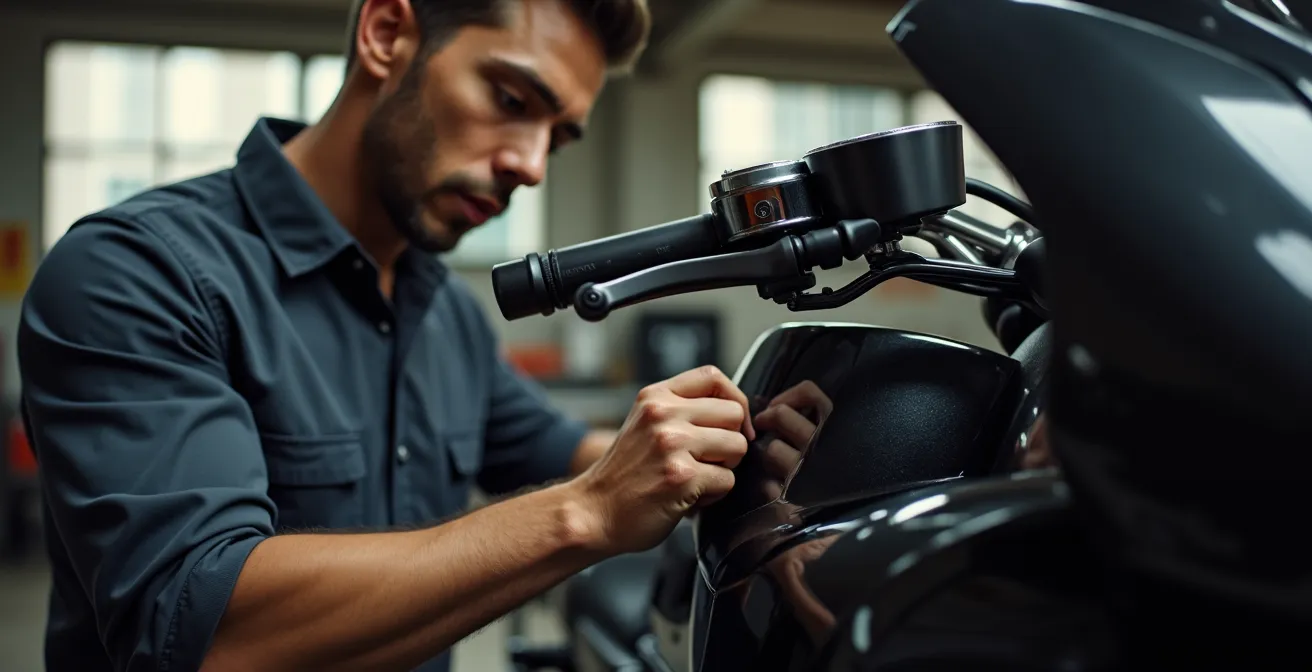
Before applying the new, you must correctly remove the old. Ten-year-old decals present a unique challenge because the vinyl has become brittle and the adhesive has hardened. This is due to a process called plasticizer migration, where the chemicals that keep vinyl flexible slowly leach out over time due to UV exposure and heat cycles. Attempting to just peel it off will result in it chipping into hundreds of tiny, frustrating pieces and potentially scratching the paint.
The key is a combination of controlled heat and patience. Heat temporarily softens the aged vinyl and the hardened adhesive, making them pliable again. Use a hairdryer on a low setting or a heat gun with extreme caution, always keeping it moving to distribute the warmth evenly. The goal is to warm the surface, not cook it. Overheating can burn the vinyl or, worse, damage the clear coat underneath. The ideal temperature is warm to the touch, not hot. Once an edge is lifted with a plastic tool (never metal), the trick is to pull the decal back on itself at a low, sharp angle, not straight up. This puts the stress on the adhesive bond rather than the brittle vinyl itself.
Action Plan: Professional 5-Step Decal Removal
- Clean the Surface: First, wash the area with soap and water. Any dirt or grit left on the surface can act like sandpaper during the removal process, causing fine scratches in your paint.
- Apply Controlled Heat: Using a hair dryer on a low setting, gently warm the decal. Keep the dryer moving continuously about 6-8 inches from the surface to avoid concentrating heat in one spot, which could damage the paint.
- Lift the Edge Carefully: Once warm, use a plastic scraper, a credit card, or your fingernail to carefully lift a corner of the decal. Never use metal tools like razor blades, as they will gouge the paint.
- Peel Slowly and Horizontally: Grasp the lifted edge and peel the decal back on itself very slowly. A side-to-side pulling motion is often more effective than pulling straight back, as it helps shear the adhesive bond.
- Remove Adhesive Residue: After the vinyl is gone, a sticky residue will likely remain. Use a commercial adhesive remover specifically designed for automotive finishes to safely dissolve it without harming the clear coat.
Finally, remember that new paint is soft. If your bike has been recently painted, you must wait until the paint has fully cured before applying new graphics. A professional paint shop will advise that fresh paint needs between 30 to 90 days to de-gas and harden completely. Applying a decal too soon will trap these gases and can cause the adhesive to permanently bond with the soft paint, making future removal impossible without damage.
Vector vs Raster: What File Format Does Your Print Shop Need for Custom Decals?
The quality of your custom decal starts long before you touch the bike; it begins with the digital file. Understanding the difference between vector and raster formats is crucial because sending the wrong one to your print shop can lead to blurry, pixelated graphics that look amateurish. This is a common and costly mistake for riders wanting a unique design.
Vector files (like .AI, .EPS, .SVG) are the industry standard for decals. They are built from mathematical equations that define points, lines, and curves. Their superpower is infinite scalability. A vector logo can be scaled from the size of a postage stamp to the size of a billboard with zero loss in quality. This is essential for creating the crisp, sharp edges required for cut vinyl lettering and complex logos on a motorcycle fairing. Conversely, raster files (like .JPG, .PNG, .TIF) are made of a fixed grid of pixels. When you enlarge a raster image beyond its original size, the software has to guess what to fill the new pixels with, resulting in a blurry or “pixelated” mess. While raster is fine for photographic prints, it’s unusable for decals that need to be physically cut from a sheet of vinyl.
When you commission a design, always insist that the final deliverable for logos, text, or line art is a vector file. If your design includes a photograph, it will be a raster element, but it must be provided at a high resolution—typically a minimum of 300 DPI (dots per inch) at the final print size. Providing a low-resolution JPG you saved from the internet will guarantee a poor-quality result. Your print shop needs the clean lines of a vector file to guide the cutting plotter, ensuring your decal has perfect edges and looks like it was painted on.
This table breaks down the key differences to help you communicate effectively with your designer and print shop.
| Aspect | Vector Files | Raster Files |
|---|---|---|
| Scalability | Infinite without quality loss | Limited by resolution |
| File Extensions | .AI, .EPS, .SVG, .PDF | .JPG, .PNG, .TIF, .PSD |
| Best For | Cut vinyl, logos, text | Photo-realistic prints |
| Required for Cut Decals | Yes – mandatory | No – cannot be used |
| Print Resolution Needed | N/A | Minimum 300 DPI at print size |
Black Reflective Tape: How to Be Visible at Night Without Ruining Your Day Look?
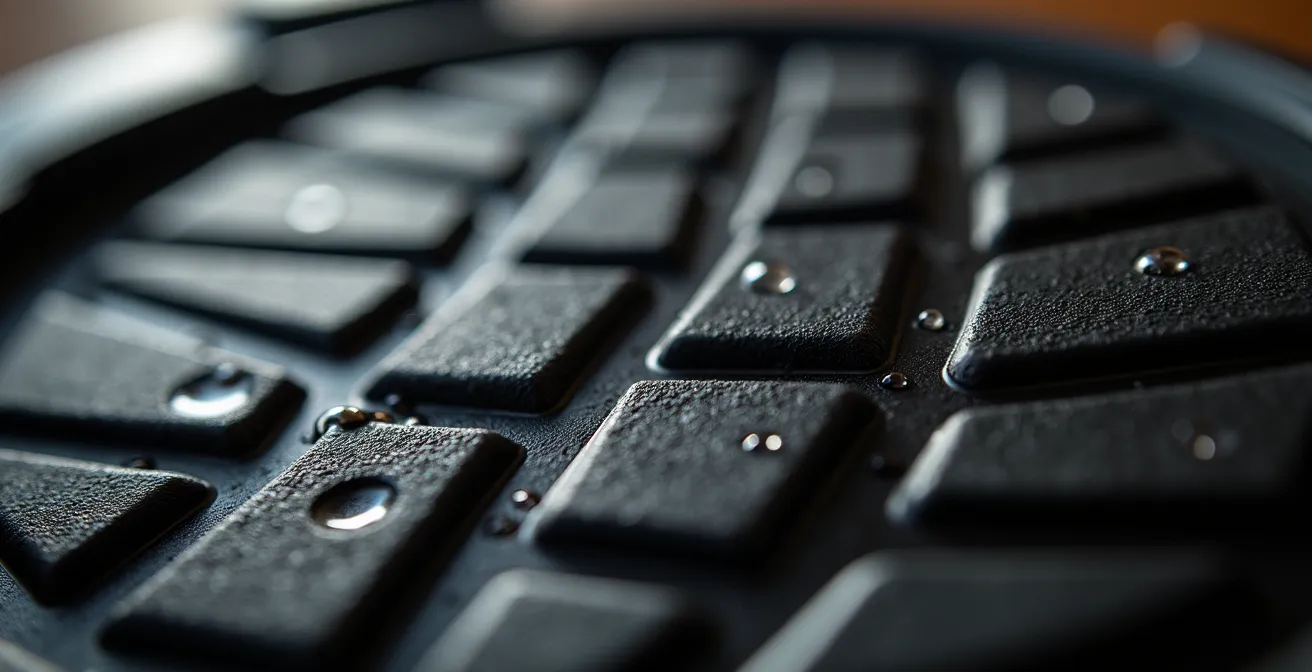
For riders who value a stealthy, blacked-out aesthetic during the day but want maximum visibility at night, black reflective tape is a game-changing material. Unlike standard silver or colored reflective tapes, it appears as a semi-gloss black in daylight, seamlessly blending with dark paint or components. At night, however, when hit by headlights, it explodes with a brilliant white reflection, dramatically increasing your conspicuity to other drivers.
The magic is in the material science. The tape contains microscopic glass beads that act as retro-reflectors, bouncing light directly back to its source. This is also why the application method is critically important and differs from standard vinyl. You must only use the dry application method for reflective materials. Using a wet solution (soapy water) can allow moisture to get trapped between the glass beads and the adhesive, interfering with their retro-reflective properties and potentially causing the adhesive to fail over time. The surface must be impeccably clean—wiped down with isopropyl alcohol—to ensure a strong bond.
The key to an effective and stylish application is strategic placement. Instead of slapping on random patches, think like a designer. Use the tape to accentuate the natural lines of your bike. Trace the sharp edges of the fairings, the curve of the swingarm, or the contours of your helmet. This creates a “designed-in” safety feature that looks intentional and high-end, not like an aftermarket afterthought. For complex curves, a gentle application of heat from a hairdryer can make the tape more conformable, but be careful not to overheat it. After application, it’s crucial to let the adhesive cure for at least 24 hours before riding to ensure a permanent bond.
Why Do Your Red Decals Turn Pink and How to Prevent It?
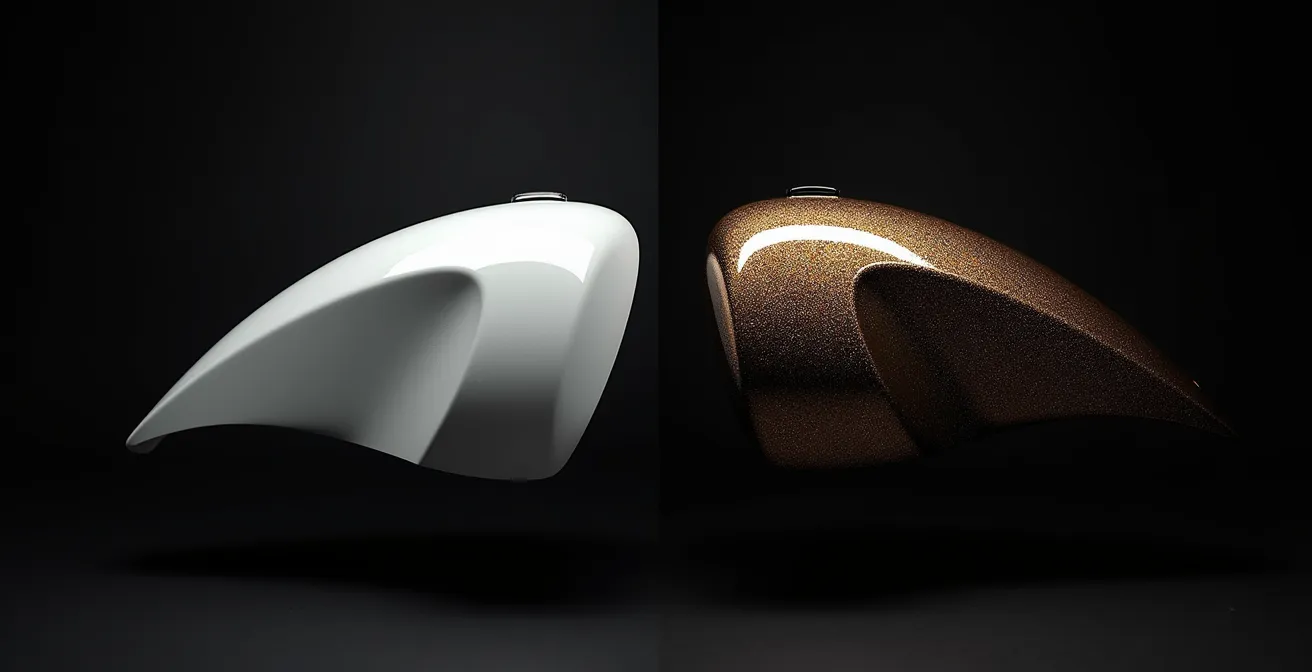
There’s nothing more disappointing than seeing your vibrant, fire-engine red race numbers fade to a sad, washed-out pink after a single season. This color degradation is a direct result of ultraviolet (UV) radiation from the sun breaking down the pigments in the vinyl. Red and yellow pigments are notoriously susceptible to fading because they absorb more of the sun’s high-energy light spectrum, causing their chemical bonds to break down faster than those of other colors like blue or black.
The prevention for this lies in one word: quality. Cheaper, unlaminated vinyl is a recipe for rapid fading. When you’re choosing or ordering custom decals, you must insist on two things: premium cast vinyl and a UV-protective laminate. Cast vinyl is a higher-grade material than a standard calendared vinyl. It’s more stable, conforms better to curves, and has better-quality pigments. More importantly, it must be protected by a clear overlaminate. This laminate acts as a sunscreen for your decal, containing UV inhibitors that absorb the damaging radiation before it can reach the colored vinyl layer beneath. It also adds a layer of protection against scratches and chemical exposure from fuel or cleaning agents.
Reputable manufacturers use high-quality materials that are designed for automotive use and can stand up to the elements. For example, premium vinyls often come with a warranty against fading. A quality 3M vinyl film comes with a 5-8 years warranty, giving you peace of mind that your investment won’t turn pink in six months. While it might be tempting to save a few dollars on a cheaper decal kit, it’s a false economy. You will end up replacing the faded graphics much sooner, costing you more in the long run. Paying for quality materials and lamination upfront is the only effective way to ensure your bike’s colors stay true and vibrant for years to come.
How to Align Tank Pads Perfectly for Both Knee Grip and Symmetry?
Tank pads are not just a stylistic accessory; they are a functional component that provides crucial knee grip during aggressive cornering and braking. Misaligned tank pads not only look terrible but also fail to provide grip where it’s most needed. Achieving perfect symmetry and functional placement is a meticulous process, but one that pays dividends in both aesthetics and performance.
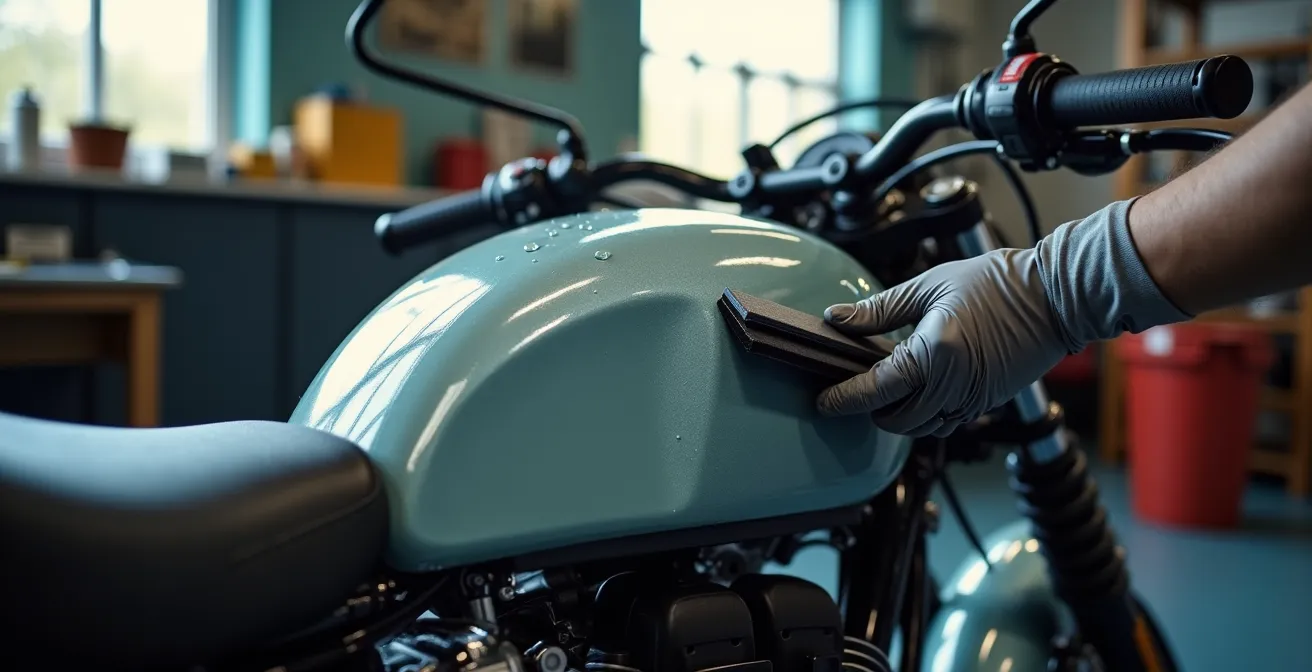
First, forget about eyeballing it. The key to correct placement is to find your personal contact points. Sit on the bike in your natural riding position, whether it’s an aggressive tuck or a more upright stance, and have a friend mark the exact spot where the inside of your knees touches the tank. This is your functional center point for each pad. To ensure symmetry, create a visual centerline on the tank using a strip of low-tack masking tape. You can then measure an equal distance from this centerline to the inner edge of each tank pad, guaranteeing they are perfectly mirrored.
This is one of the few instances where the wet application method is highly recommended, even for pros. As the resource notes, a spray bottle with water and a drop of dish soap can be used on the tank surface and the adhesive side of the pad. This temporarily neutralizes the adhesive’s “initial tac,” allowing you to slide the pad into its perfect position without it grabbing instantly. Once aligned, use your thumbs or a soft squeegee to push the water out from the center to the edges. This process requires firm, overlapping strokes to ensure all moisture is removed. For textured or matte-finish tanks, which have lower surface energy, using a thin layer of 3M Primer 94 on the tank before application can dramatically improve the adhesive’s bond.
Sanding and Priming: Why 90% of the Paint Job Quality Is in the Prep Work?
Whether you’re preparing a surface for paint or a vinyl wrap, the quality of the finish is directly determined by the quality of the work done beforehand. For a paint job, this means meticulous sanding and priming. Pros often say that 90% of a mirror-like finish is achieved before a single drop of color is ever sprayed. Any imperfection in the underlying surface—tiny scratches, low spots, or pinholes—will be magnified by the glossy topcoat of paint.
The process is laborious and requires patience. It involves sanding the surface with progressively finer grits of sandpaper to create a perfectly smooth and uniform base. A professional technique called a “guide coat” is often used to achieve perfection. This involves spraying a very light mist of a contrasting color (like black over grey primer) onto the primed surface. When you perform the final sanding, the guide coat is removed from the high spots first. Any remaining specks of the guide coat instantly reveal low spots or scratches that are invisible to the naked eye. You continue sanding until all traces of the guide coat are gone, guaranteeing a flawlessly flat surface.
This level of preparation is what separates a high-end custom paint job from a cheap one, and it’s a major factor in the cost. A truly professional custom paint job isn’t just about spraying color; it’s about the hours of prep work. This is why a custom motorcycle paint job can range from $3,000 to $8,000 or more. The time investment is significant; a complex paint job with multiple coats can take anywhere from 7 to 20 days to complete correctly, allowing for proper curing times between each layer of primer, base coat, and clear coat. Skipping any of these meticulous prep steps is the fastest way to a disappointing result.
Why Used OEM Fairings Fit Better Than New Chinese Aftermarket Kits?
When replacing damaged fairings, riders face a classic dilemma: invest in a pricey used Original Equipment Manufacturer (OEM) part or opt for a much cheaper, brand-new aftermarket kit, often from China. While the low price of aftermarket kits is tempting, it often leads to a nightmare of fitment issues, frustration, and a result that looks “off.” The reason lies in the fundamental difference in their manufacturing process.
OEM fairings are produced using precision injection molds engineered and owned by the motorcycle manufacturer. These multi-million dollar tools are designed to produce parts with exact tolerances, ensuring every mounting tab, every hole, and every curve aligns perfectly with the bike’s frame. The plastic used is typically a high-grade, virgin ABS plastic, formulated to be flexible and resistant to engine vibration. A used OEM fairing, provided its mounting tabs are intact, will almost always bolt on perfectly.
Aftermarket fairings, on the other hand, are typically created by reverse-engineering an original part. This process is inherently less accurate. The molds are often cheaper copies, and they may not account for the precise shrinkage rates of the plastic. The material itself is often a lower-grade or recycled plastic, which can be more brittle and prone to cracking from vibration. This leads to the common complaints: mounting holes that don’t line up, gaps between panels, and tabs that need to be drilled or forced into place. Even the paint is an approximation, rarely matching the factory color code perfectly, creating a visible mismatch.
While an aftermarket kit can be made to fit with enough time, drilling, and “persuasion,” it will seldom achieve the seamless, factory-fresh look of an OEM part. The cost savings upfront are often paid for with hours of installation headaches and a compromised final appearance.
| Factor | Used OEM Fairings | New Aftermarket Kits |
|---|---|---|
| Manufacturing Process | Precision injection molds | Reverse-engineered copies |
| Material Quality | High-grade ABS plastic | Variable quality, often recycled plastics |
| Fitment Accuracy | Perfect alignment if tabs intact | Common misalignment at mounting points |
| Paint Match | Factory color codes | Approximate colors, visible mismatch |
| Durability | Engineered for vibration resistance | Prone to cracking from engine vibration |
Key Takeaways
- Protect Original Paint: Vinyl wraps are fully reversible, preserving the original factory paint underneath, which is a major factor in maintaining a bike’s resale value.
- Personalization vs. Marketability: A highly personal custom paint job, while expressive, may not appeal to potential buyers and can limit the market for your bike.
- Cost vs. Reversibility: While a wrap is significantly cheaper upfront, its primary financial benefit is its reversibility, offering a “get out of jail free” card for bold design choices.
Wrap vs Paint: Which Customization Method Holds Better Value for Resale?
When it comes to customizing your motorcycle, the choice between a full vinyl wrap and a custom paint job has significant long-term implications, especially for resale value. While both can radically change your bike’s appearance, they are viewed very differently by the market. A high-quality custom paint job can potentially increase a bike’s value, but it’s a high-stakes gamble. A vinyl wrap, however, is a much safer bet for protecting your investment.
The core issue with custom paint is its permanence and subjectivity. Your idea of a stunning, personalized design might be a future buyer’s nightmare. A unique paint job that reflects your individual style may dramatically shrink your pool of potential buyers to only those who share your exact taste. Unless the paint job is a universally acclaimed design on an iconic model, it often fails to add value and can sometimes detract from it. The safest route for resale is always maintaining the original, factory paintwork. A wrap allows you to do exactly that. It acts as a protective, sacrificial layer, shielding the original paint from stone chips, light scratches, and UV damage. When it’s time to sell, the wrap can be professionally removed, revealing the pristine factory paint underneath—a huge selling point for any buyer.
From a financial perspective, the initial investment is also vastly different. A quality wrap is far more accessible, with professionally installed vinyl films costing between $1,200 and $2,000, compared to the $3,000 to $8,000+ for a comparable custom paint job. While paint is more durable in the long term, the reversibility of a wrap is its killer feature for value preservation. It offers the freedom to express yourself with wild colors and graphics without taking a permanent and costly gamble on the resale market.
Ultimately, transforming your motorcycle with decals or a new finish is a rewarding process that merges technical skill with personal expression. By understanding the science behind the materials and the logic behind the prep work, you move beyond simply following instructions and into the realm of true craftsmanship. This knowledge empowers you to make informed decisions, ensuring your investment of time and money results in a flawless, durable finish that you can be proud of for years to come.